This is the third in a series of posts about the demo I presented during my “IoT and the FileMaker Data API” session.
Construct #2 – Billy Bass Bones
As mentioned in my previous post, I decided to do everything from the Raspberry Pi to control the Billy Bass toy.
While I was scouring eBay looking for pristine Billy Basses I came across this one as shown in Figure 15.
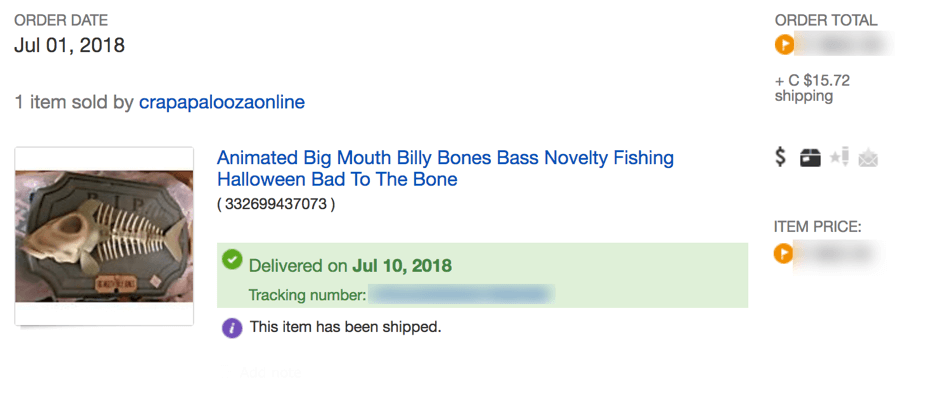
I thought that would be funny and I could make the story about the fact that almost 20 years have passed since Billy Bass’ first DevCon and that he… well… became bones.
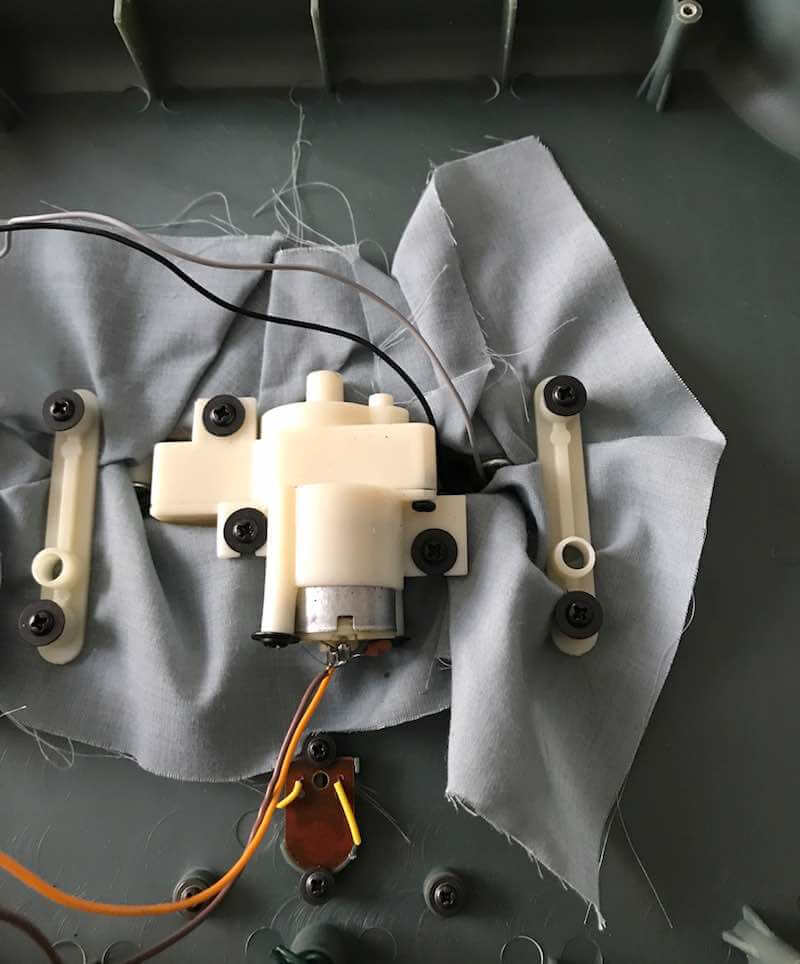
Unfortunately, when I got this fish, it too did not turn its head the full 90 degrees that I wanted. Nevertheless, I ‘gutted’ the fish in the same way as the original one by removing its controller unit and only leaving the wires that come down from the motors and the speakers (see Figure 16).
This type of Billy Bass has two motors: one for the mouth and one that drives the head or the tail depending on whether you run the motor forward or backward.
Issue with the Pinion Gear
Since I was seriously disappointed about both Billy’s not turning their head properly, I did some more searching and found that it was a bit of a known issue: the pinion gear that sits on the shaft of the motor that moves the body can crack. In fact, it almost certainly will break given enough usage and time. And since all of these toys are second-hand, it is pretty much a given that they will have been used enough times that those gears will have cracked and that the head will no longer turn all the way.
There are some informative videos on YouTube that show how to replace it so after a lot of trepidation I decided to go ahead and disassemble the fish further to get to the body motor.
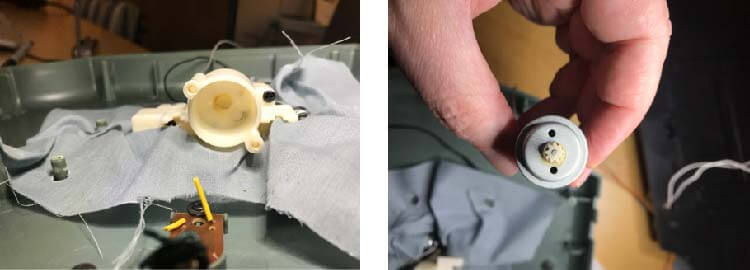
You cannot tell from the pictures in Figure 17, but there was indeed a crack between two of the teeth and because of it, the gear is not tight enough on the shaft. When the motor turns, it does not deliver all of its power through the gear, and the gear slips. And that is why the head does not turn all the way.
Not all Billy Basses, however, use the same types of gear. While they all have 2mm shafts, some gears have nine teeth and some 10 or 11. So you need to get it out first before you know which ones to get. Mine were all 9-teeth gear, so I got a bunch from Amazon.They are very cheap, but the delivery time was making me a bit nervous. And at this point, I wasn’t entirely certain that I could re-assemble the whole fish 🙂
While I was waiting for the replacement gears to arrive, I set about finding out how to drive them from the Raspberry Pi. I settled on the MotorHat from Adafruit. Adafruit makes a bunch of quality hardware for Raspberry Pis and Arduinos, the documentation is excellent, and they have a good support forum. They also have a .NET library for their hardware including this motor hat. The MotorHat has four motor connections, more than enough to drive the two Billy Bass motors.
“Hats” or “Shields” are an integral part of the Raspberry ecosphere and that of similar boards like the Arduino and Particle. Hats add hardware functionality very easily. I have a few slides in my DevCon presentation that show the concept: https://community.filemaker.com/docs/DOC-9255.
To my dismay, however, the motor hat had to be soldered together. I looked for pre-assembled ones before I became resigned to the fact that, yes: I would have to solder. So it was back to Amazon, and I got a soldering iron set. But it stopped working after just one use, so I bit the bullet and got a decent one.
It turns out that soldering is a lot of fun. Who knew. It helps that the Adafruit instructions are complete and easy to follow.
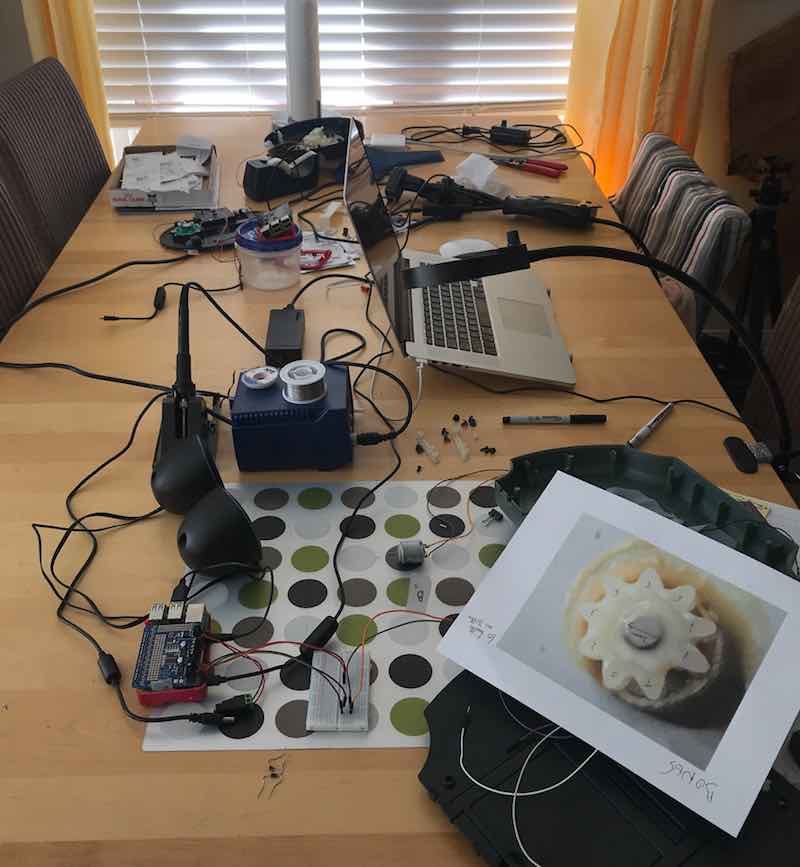
By this time my dining table started to look quite full (Figure 18).
With just a few weeks left before DevCon…
Of course, none of this would have happened without the support of my loving wife Nicky — a fellow FileMaker developer and great artist — whom I robbed of that dining room table for a few months, and whose patience I know I’ve tested on more than one occasion.
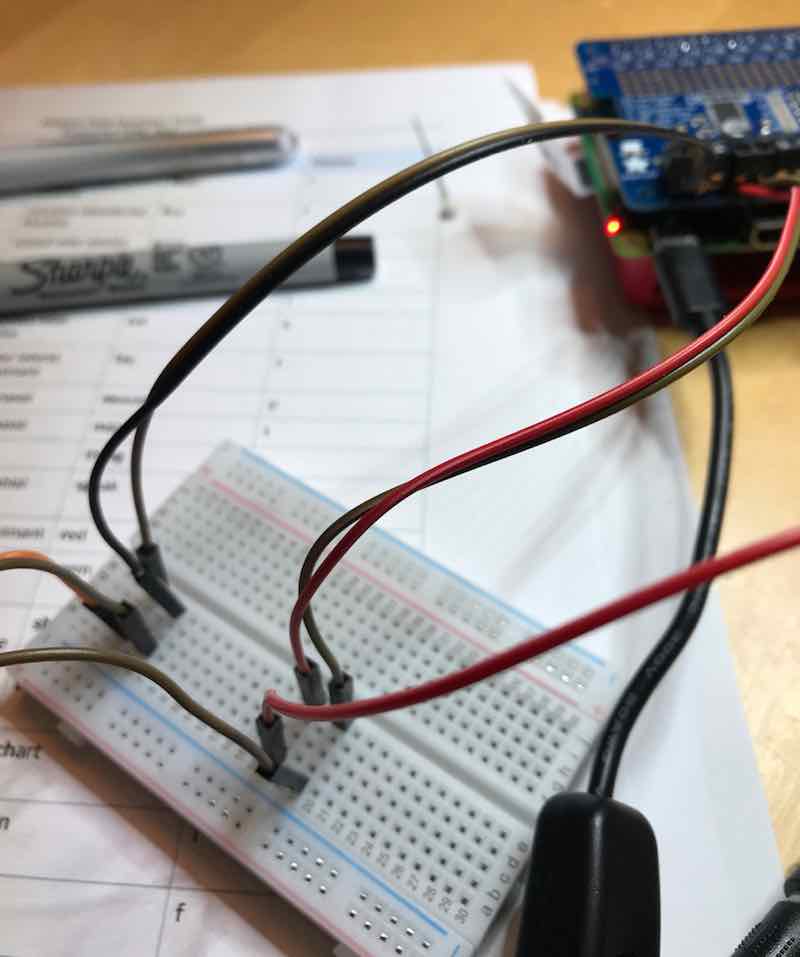
To keep the soldering to a minimum and to allow for quick assembly and disassembly I was still using a breadboard and jumper cables to connect the Raspberry Pi and Billy Bass. Figure 19 shows the Raspberry Pi with the MotorHat on and the cables running to the breadboard.
That takes care of the hardware to control the motors. Now I needed to write code to send instructions from the Raspberry Pi, through the Motor Hat to the Billy Bass.
I started with the MotorHat demo for C# that they have on GitHub and the underlying Adafruit C# library: https://github.com/adafruit/AdafruitClassLibrary.
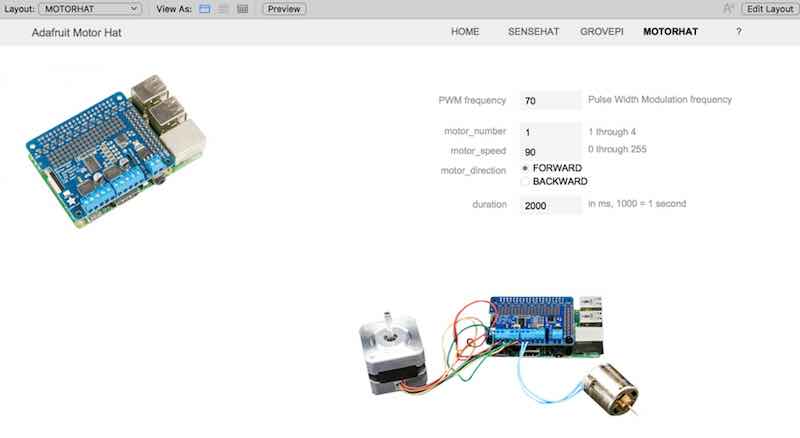
Looking at their demo I could see that there are a few settings that need to be specified to drive a motor correctly: the Pulse Width Modulation frequency (PWM), the direction of the motor (forward or backward), the speed, and the duration. I broke those out in my FileMaker demo file so that I can could just modify the settings right there in my FileMaker record and have the Raspberry Pi read from FileMaker Server and send the instructions to the motors.
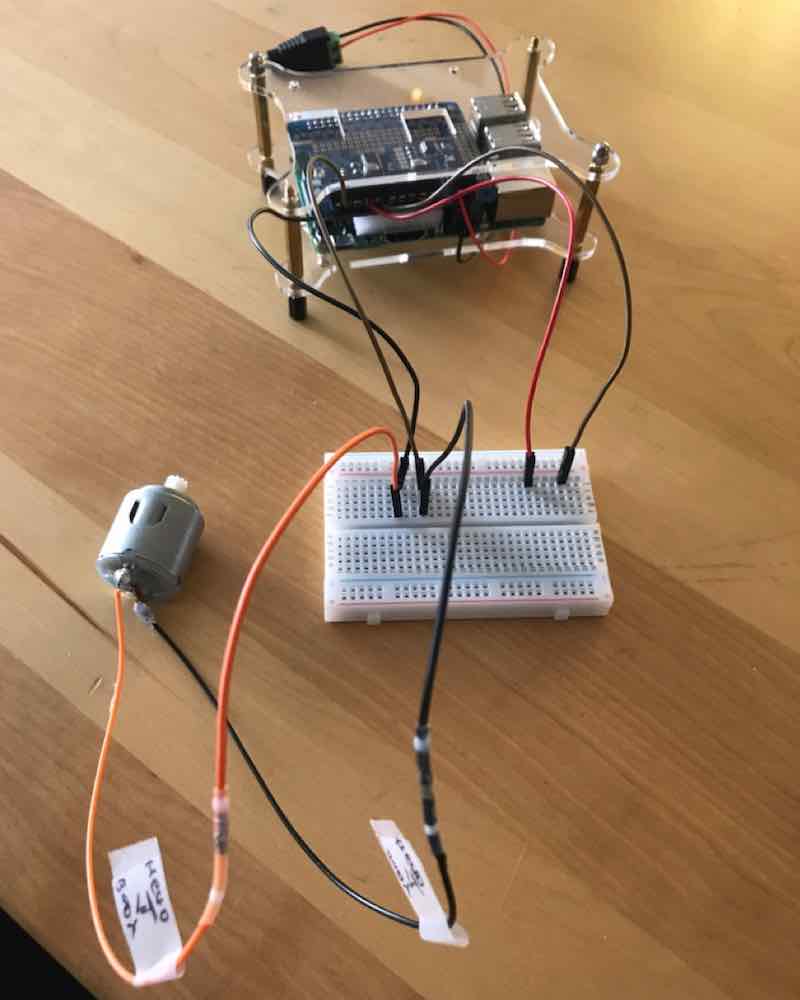
Having learned that those pinion gears on the fish were a little fragile and since I did not have the replacements yet I did not want to experiment with the actual Billy Bass. It was very likely that I’d mess things up at some point and drive the motors too hard and too long. So I just hooked up a DC motor to the hat so that I could tell if it was running correctly, based on my code. The source code is here on GitHub: https://github.com/wimdecorte/BillyBassPolly2
In Figure 21, it shows the hardware setup, since I am using jumper cables and a breadboard I can easily switch the motor from port 1 to port 2 and change its polarity so that ‘forward’ in my code corresponded to the motor running in the right direction.
Note that you will need a good power adapter to run the MotorHat. I tried to skimp on that but found that the hat did not respond very well so I ended up getting the power adapter directly from Adafruit.
Everything was working well except that I was getting an error every second time I ran the code. Trying to troubleshoot it I came across an open issue in the Adafruit .NET library and the suggested fixes did not work for me. It looked like I was stuck, and we were into June now. I waited a couple of days to see if there was any feedback on the issue, but none came.
Since the default OS for a Raspberry Pi is Raspbian Linux, and most of the example code you’ll find is Python, and Adafruit has a Python library for their MotorHat, I decided to switch gears and see if I could make it all work in Python. I’ve never touched Python before, so I was feeling more than a little bit of anxious. But I was also excited by the idea.
In part four, I show how I made it work in Python.