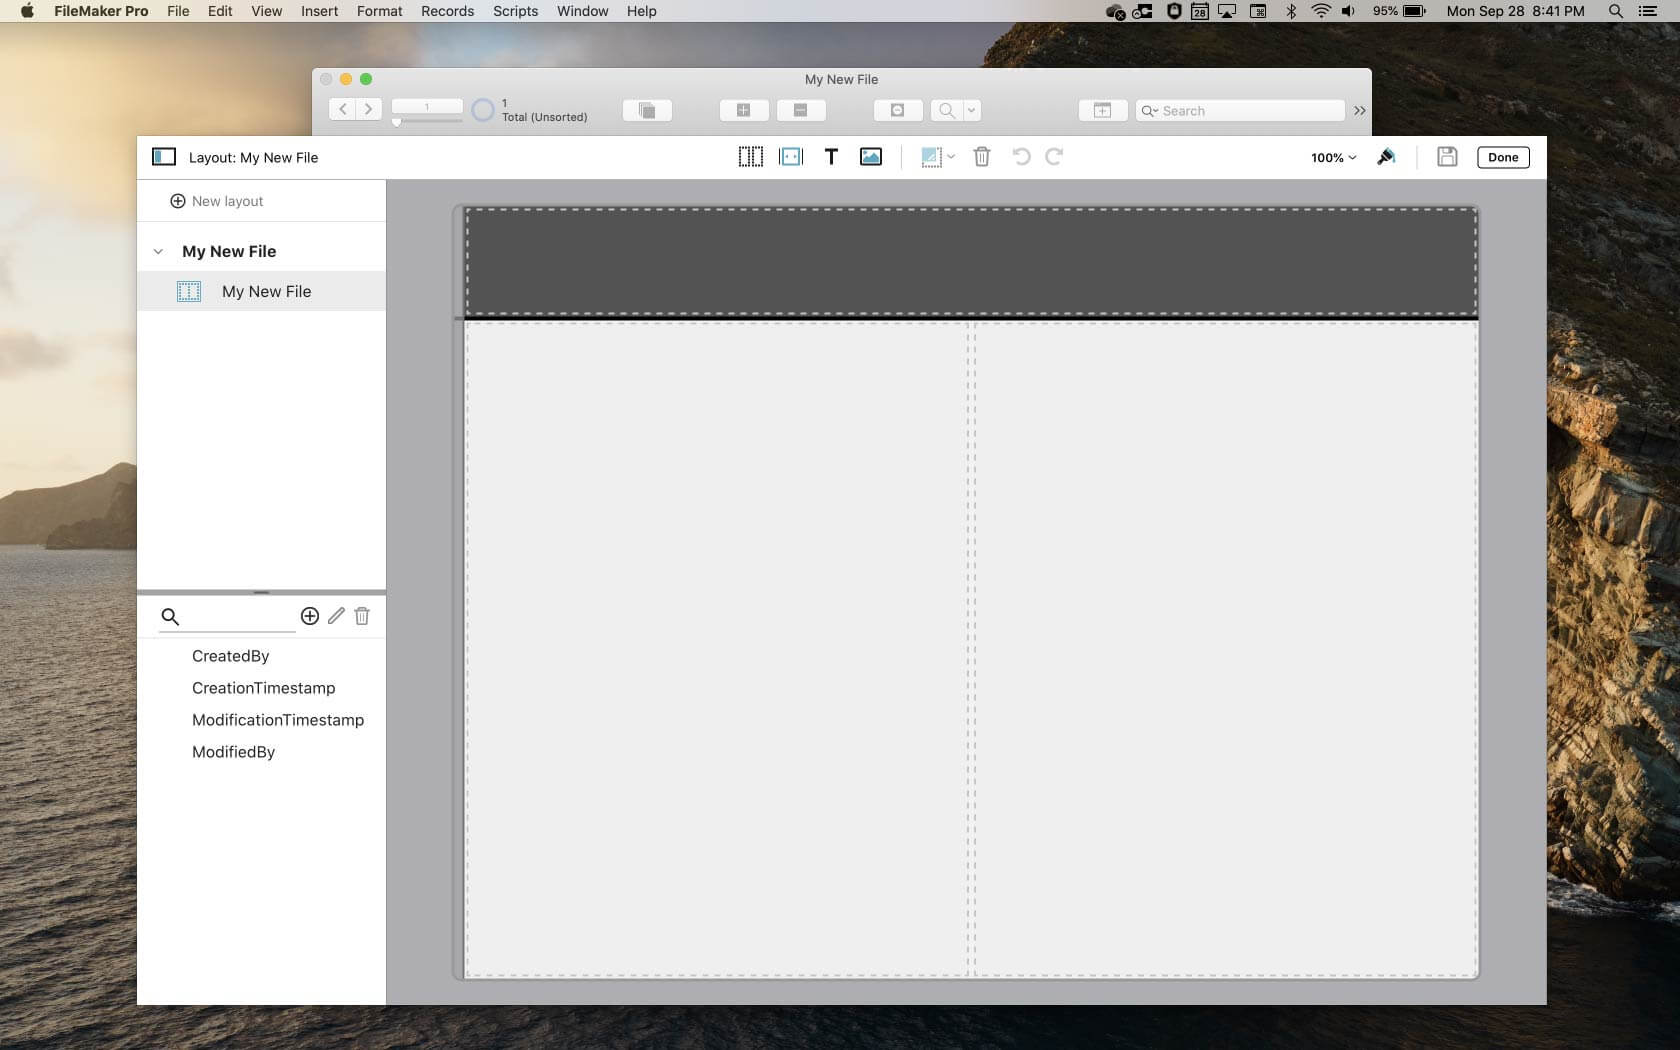
Let’s take it for a test drive. Because I work in FileMaker Pro as a developer, I have a little setup to do. The first task is to open the preferences and uncheck “Use Advanced Tools.” Then, I make sure I am not running any other versions of FileMaker Pro. Now, it’s time to launch FileMaker Pro 19.1. I create a new, blank file, name it, and save it. Once saved, I’m presented with the new quick start interface.
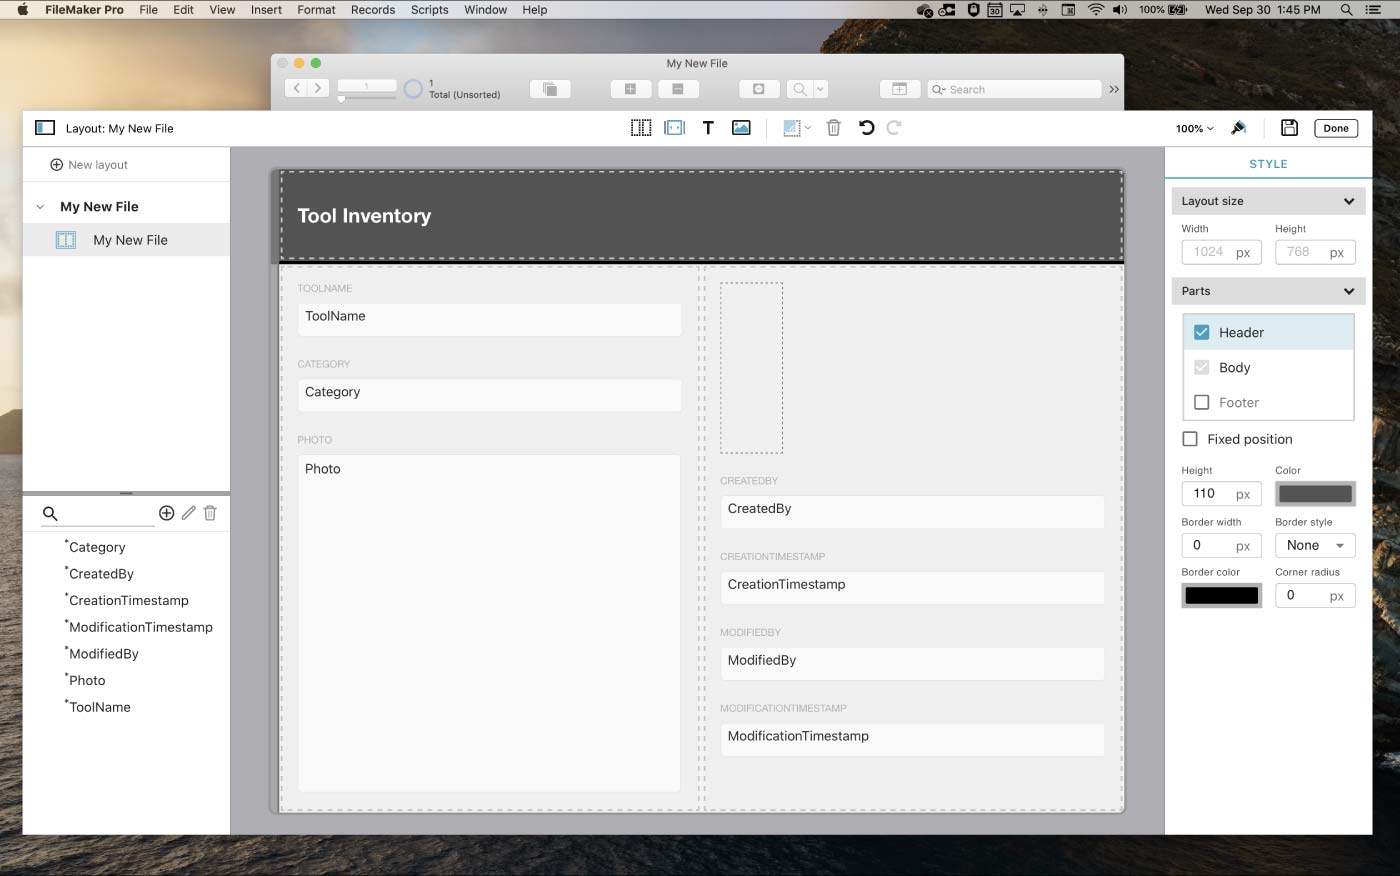
The main part of the screen is my layout, sectioned off with a header and two columns in the body. The top left lists the tables and layouts (there is only one of each, named the same as the file when you first create a file). The bottom left portion is a listing of the fields in my table. FileMaker Pro has created some default fields to keep track of when the records are created and modified, but we can add any others we need using the + button above the field list. We will go over the row of tools at the top later.
Presumably, I opened FileMaker with a task in mind. For this exercise, I’ll be creating a very simple inventory of my toolbox. I will want to track the name of each tool, categorize it (Hammers, Measuring, Saws, Pliers, and Wrenches, etc.), and store a picture of the tool.
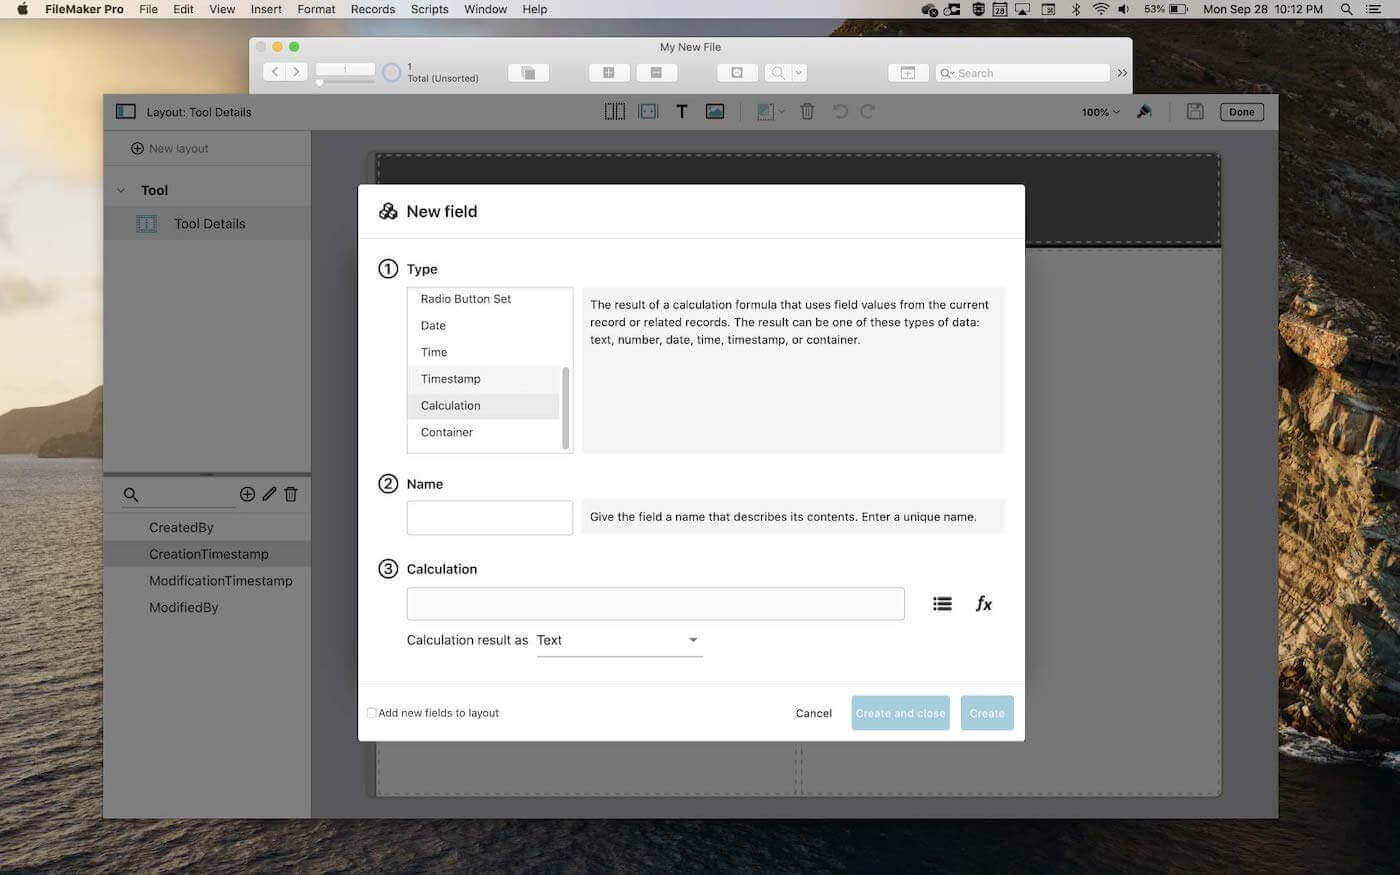
First, I need to create fields to hold the data I am going to track. I click the + button above the field list to open the field definition dialog. The options you see will depend on the type of field you are creating:
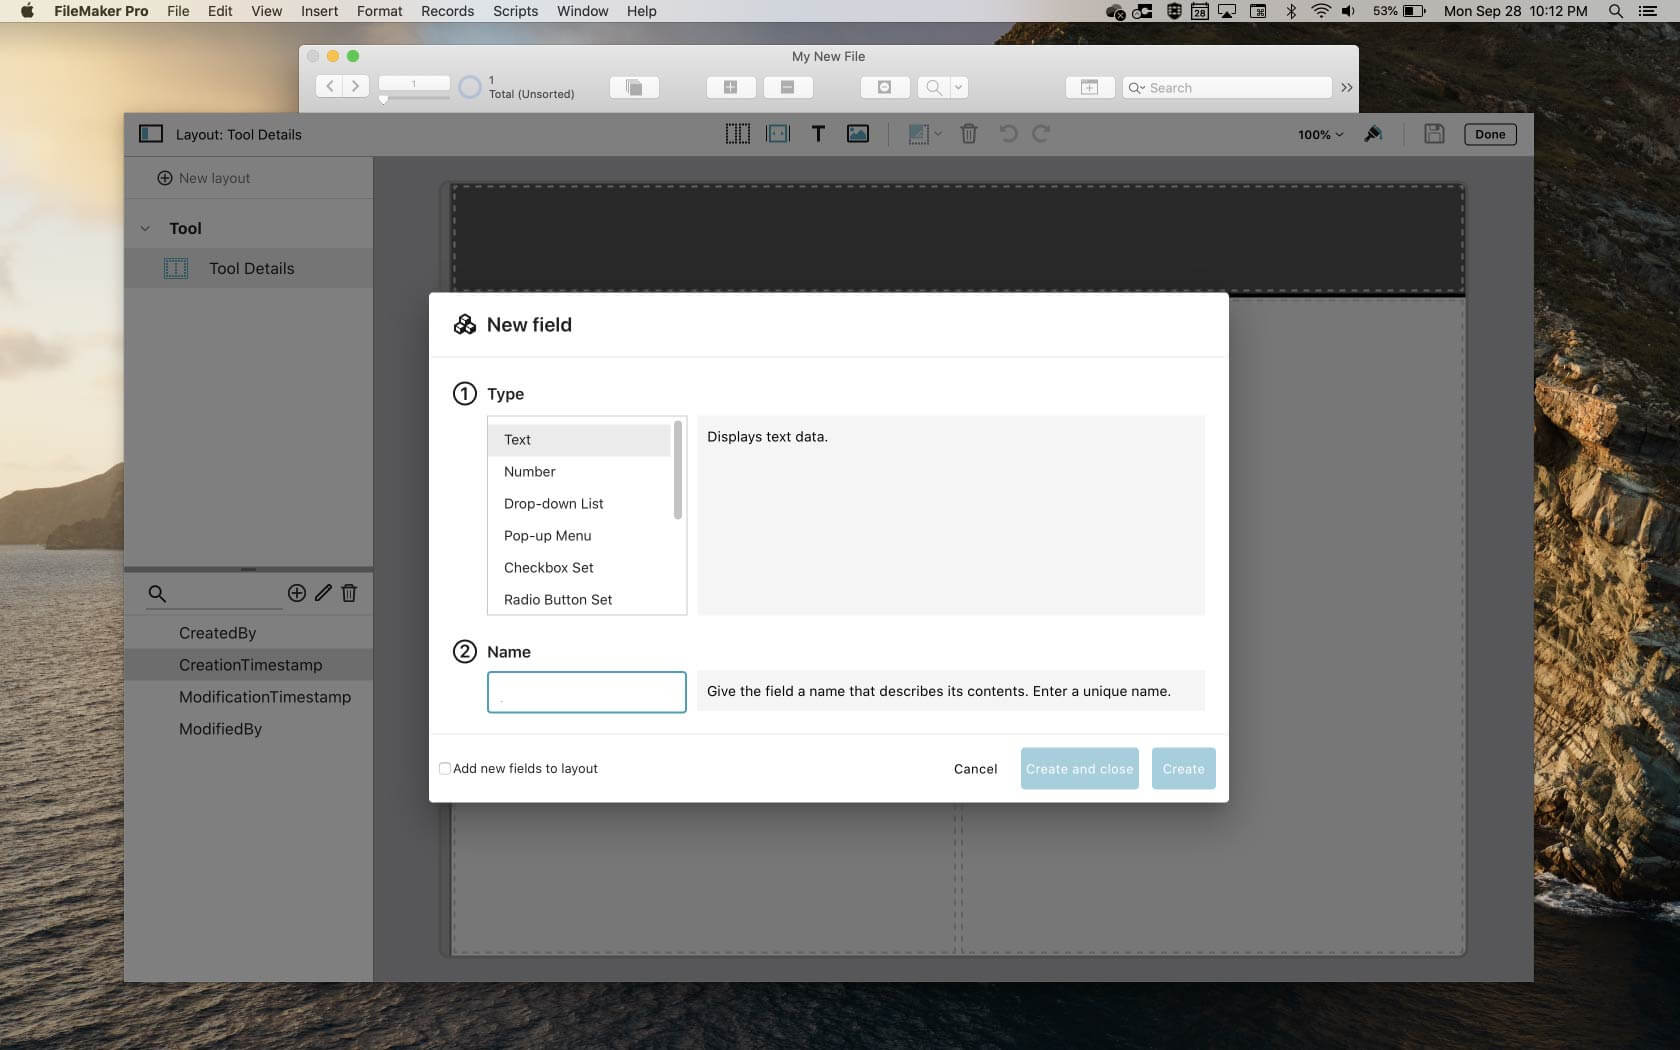
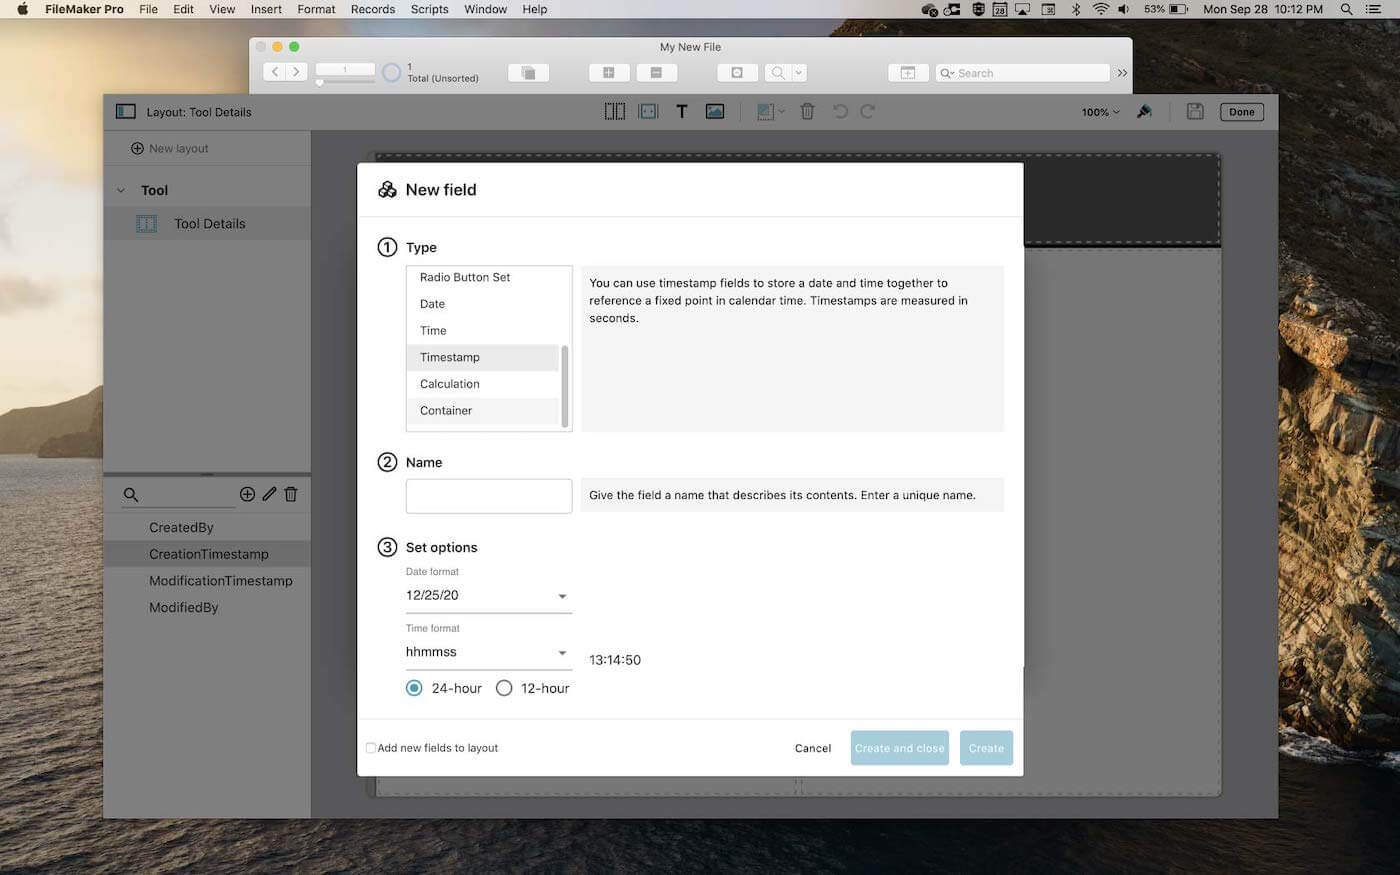
Now I can add my fields, clicking Create after each one to keep the dialog active and create another:
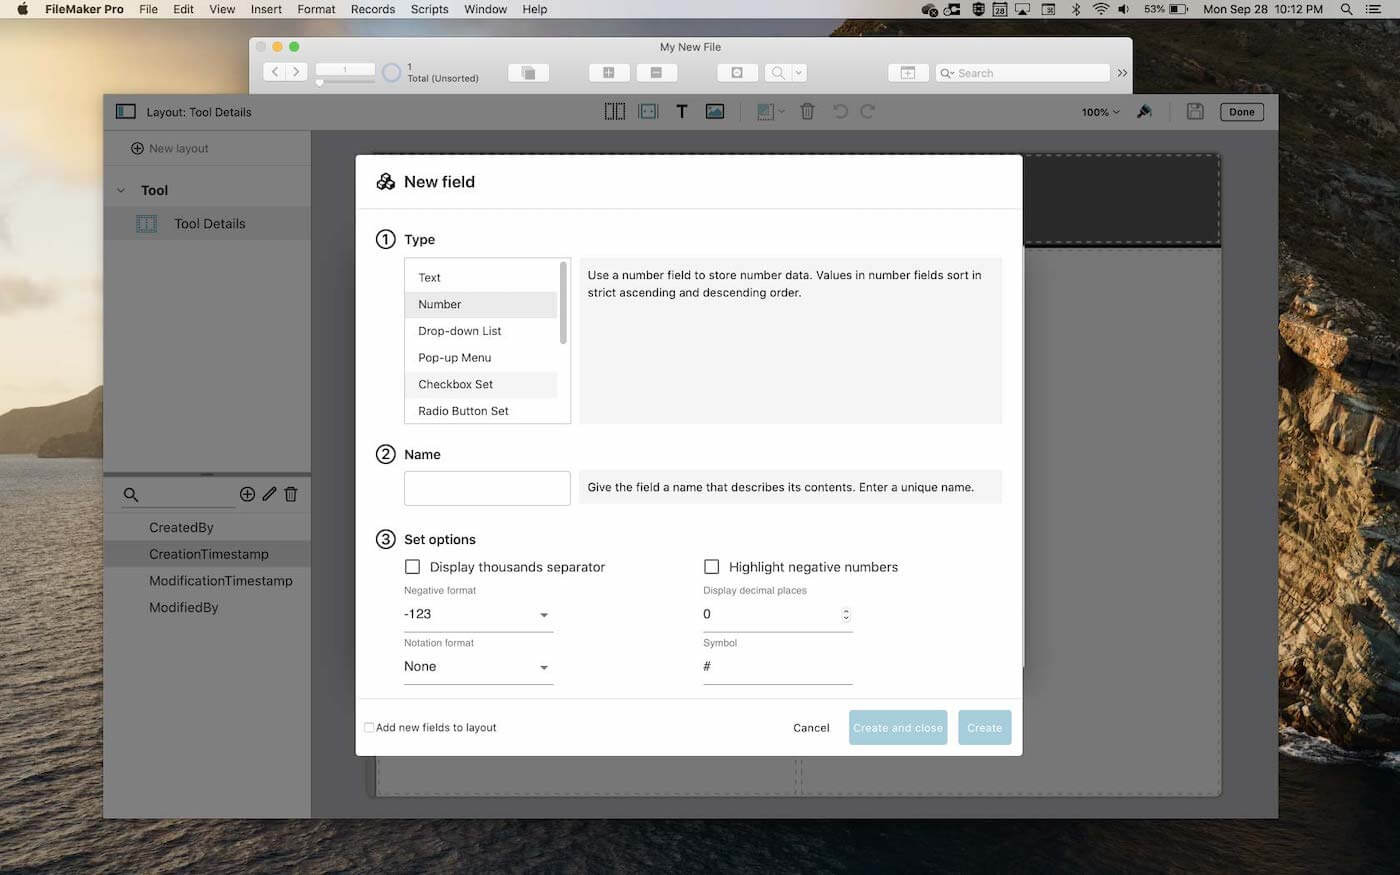
- A Text field for ToolName
- A Pop-up Menu for Category
- Using the + button below the “Set Options” box, I can add categories. I’ll just add Hammers, Measuring, Saws, Pliers, and Wrenches
- A Container field for Photo
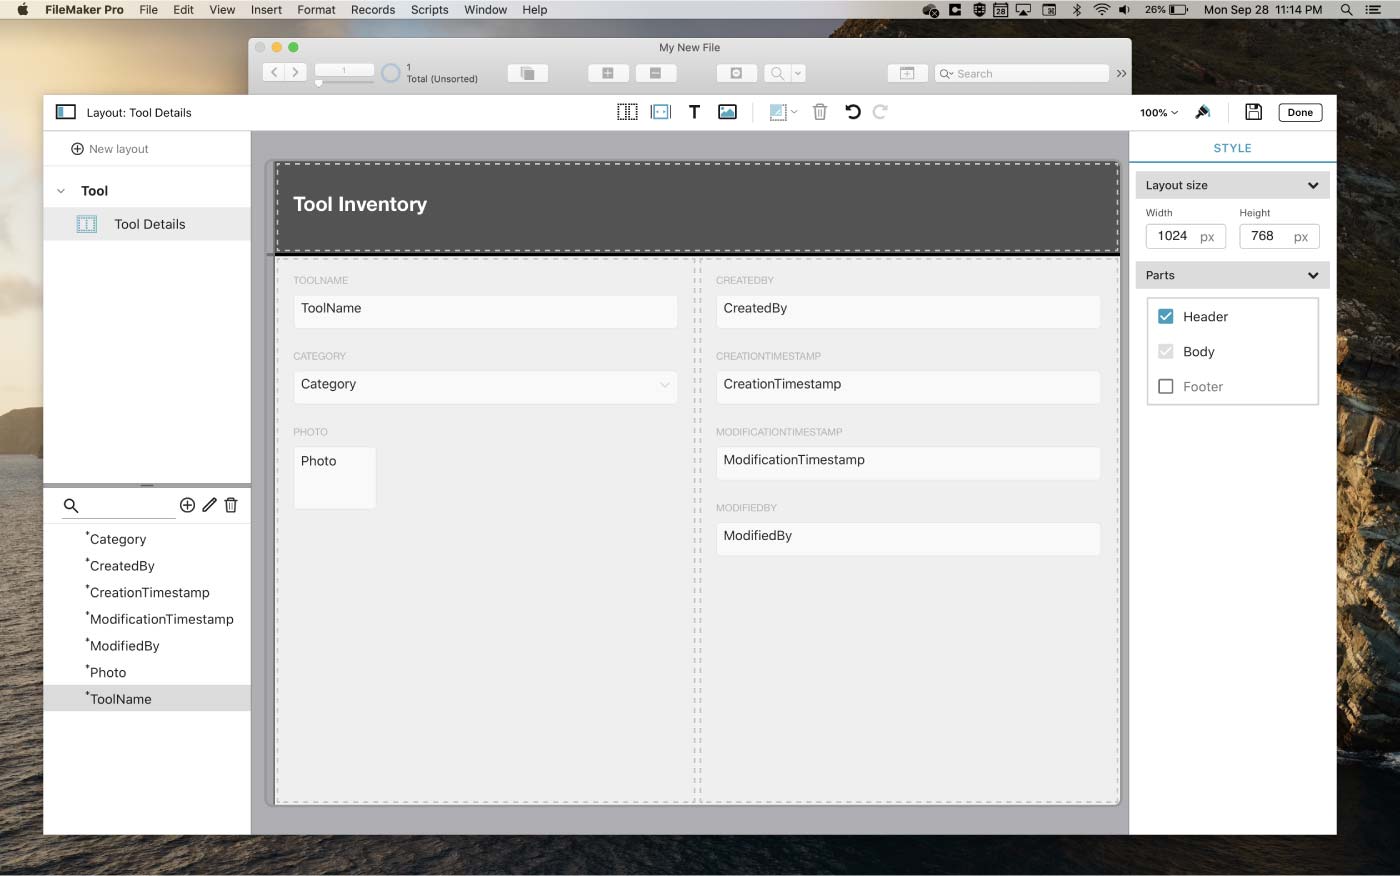
After clicking Create and Close on the last field, I’m back on the main view where I can start arranging my layout. Fields are added to the layout by dragging the field name from the list of fields. I can only drag one at a time. FileMaker helps you keep the layout tidy by anchoring everything to the top left, within the column section. I notice that as I drag my fields around, the other fields make space by moving out of the way. That is a nice feature that I wouldn’t mind having the option to use in the regular layout mode.
I’ve now added all of the fields (it is not required that all of them be added). I can resize and rearrange them, add more text or pictures, and edit their appearance.
Other Tools

I can use the tools across the top to add other elements, like text, spacers, and pictures. To add one of these items, I need to drag the tool onto my layout. That will give me a default object which I can then restyle.
- Column – You can add more columns, but only to empty spaces. You cannot subdivide a column.
- Spacer – You can add spacers and resize them as necessary. Like other elements, they push things out of their way as you drag them around.
- Text – adds a text object that says “Sample.” Double-click to edit.
- Graphic – You can add a graphic to any column, but it must fit within that column to be dropped there.
- Resize Tool – This only becomes active if you have multiple objects selected. Left to right, we have shrink to smallest width, expand to largest width, shrink to smallest height, expand to largest height, shrink to smallest width and height, expand to largest width and height.
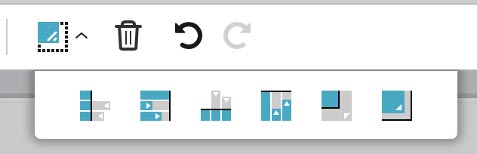
- Delete – This deletes the selected object. It doesn’t always ask first, but I can undo or redo the last action with the undo and redo arrows.
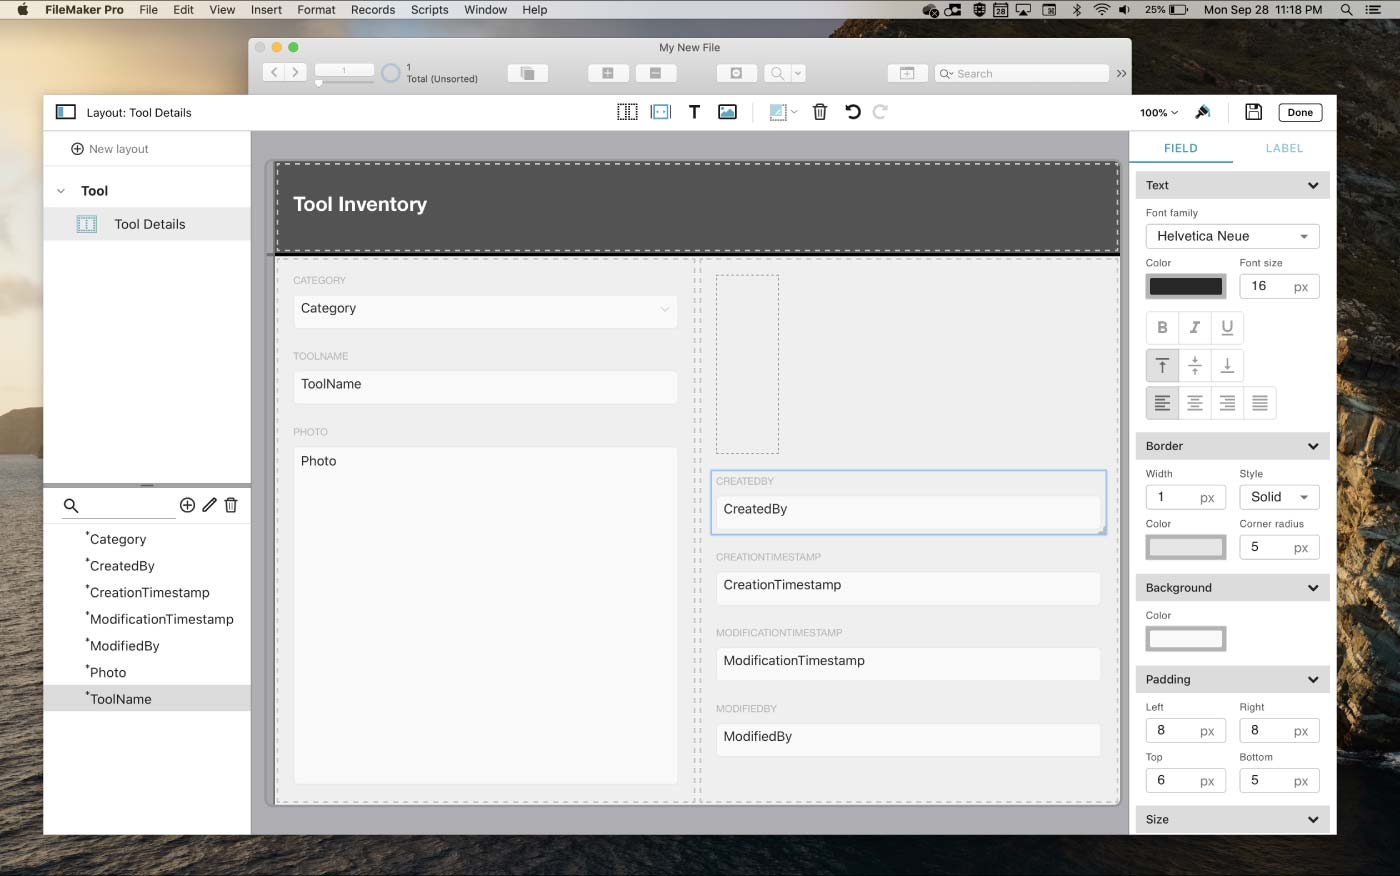
The paintbrush exposes the Inspector. The options you see depend on which object is selected. Generally, this is where I change fonts, styles, and colors. For fields and labels, there are separate settings for each – note the “Field” and “Label” tabs at the top of the inspector.
I can also style the layout parts. There is a skinny selector area to the left of the Header and Body parts. Selecting one of these exposes the styling options in the inspector. Note that I can choose “Fixed Position” for the header object. For longer layouts that scroll, this means that the header will stay visible as I scroll down on the layout.
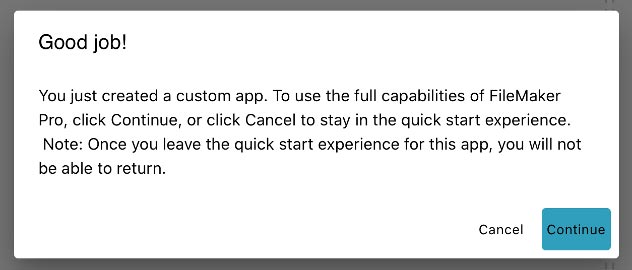
Now that I have a basic layout built, I’m ready to exit the quick start experience and further refine my custom app.
Clicking Done warns me that I can’t return to the quick start experience. Based on the Knowledge Base article that outlines the new features in 19.1, it sounds like future versions will allow re-entry, and perhaps an expanded feature set. For now, everything can be edited further using the regular FileMaker Pro features.
What Happens Next?
In Part 2, we cover how the elements created using the quick start experience translate into real, live, FileMaker Pro fields, layout objects, and value lists.
Have questions or need help? Contact us today.