Here’s a scenario: You have a FileMaker app, but once in a while, you need to capture input through the web from a wide variety of folks. Those users will not have the FileMaker Pro or Go client; they would be expected to use their browser. FileMaker WebDirect would be the obvious choice since it requires no prior knowledge of HTML or CSS or JavaScript to create an actual web page to allow this interaction.
Like the Pro and Go client software, WebDirect expects users to log in, however. If you want people to just go to a page and input some data, you have to jump through a few hoops to create a new FileMaker file and set it to auto-login and then very carefully craft the associated privilege set so that it does not accidentally expose more data and functionality than you intend. And for this particular effort, you do not want to create an actual account for each of those users and deal with all the maintenance that comes with that. WebDirect is not always a natural choice for this kind of anonymous access.
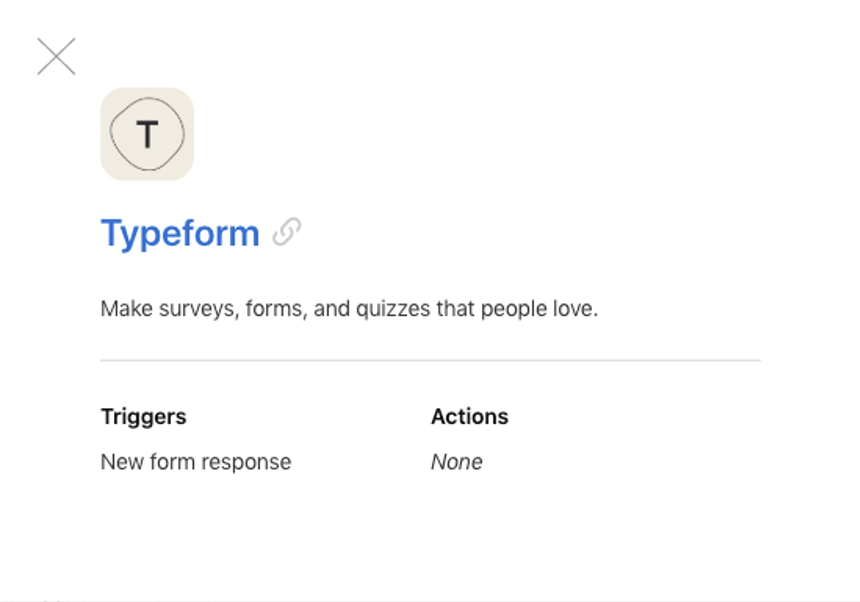
With Claris Connect, you now have a new way of tacking this use case. Claris Connect has built-in connectors for three online form providers:

Each of them offers a single trigger: to start a flow when a form is submitted:
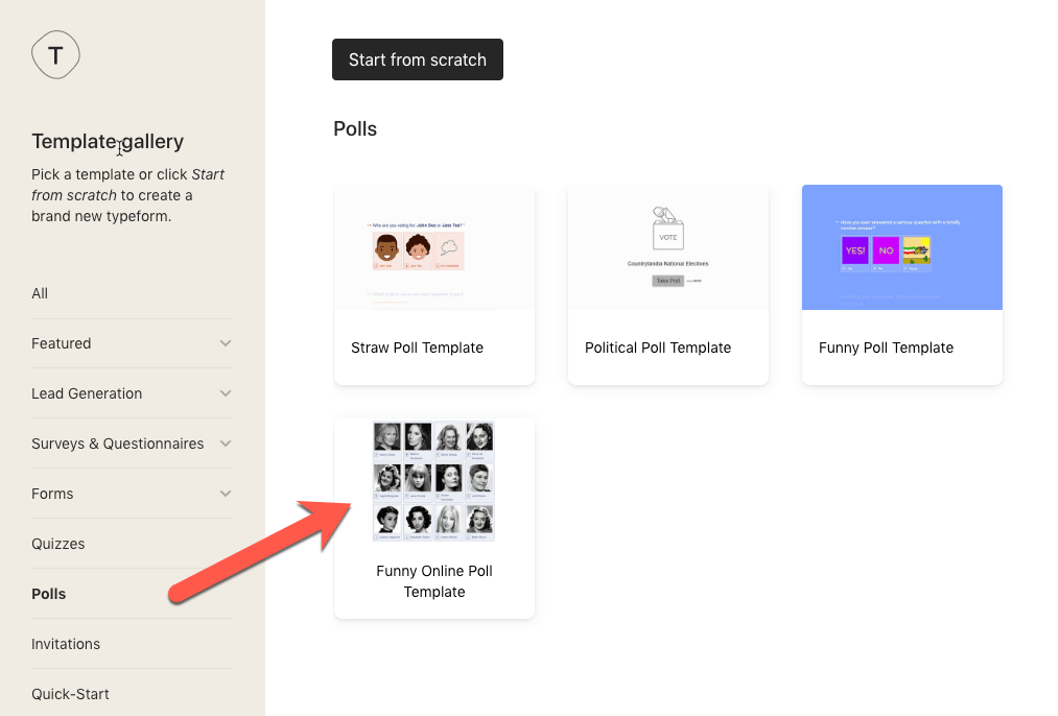
For this example, a simple poll from Typeform’s arsenal of templates will do. In Typeform, select the ‘funny online poll template.’
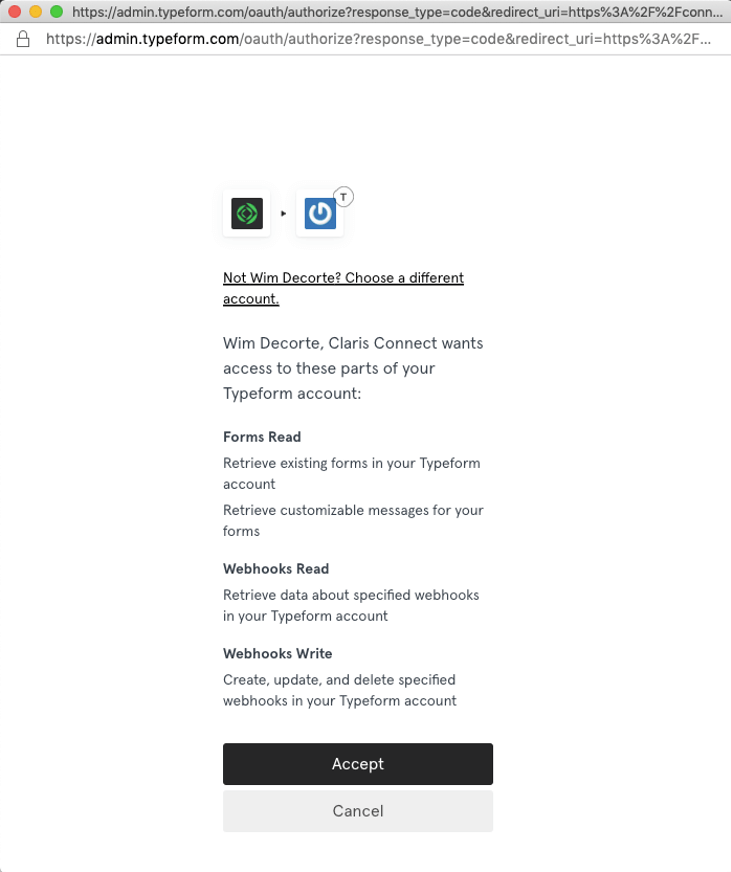
Back to Claris Connect, start a new flow and select Typeform as the trigger, authenticate to their service and accept the permissions that Claris Connect requires.
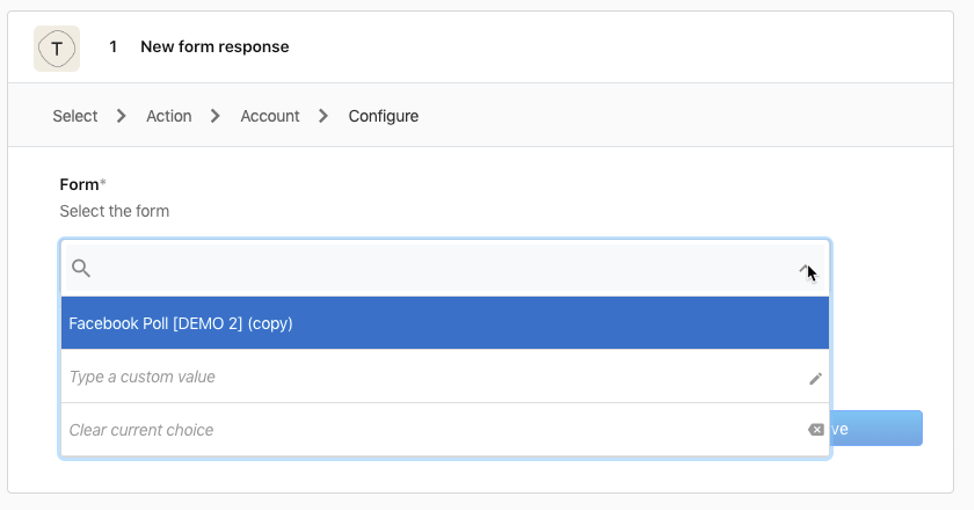
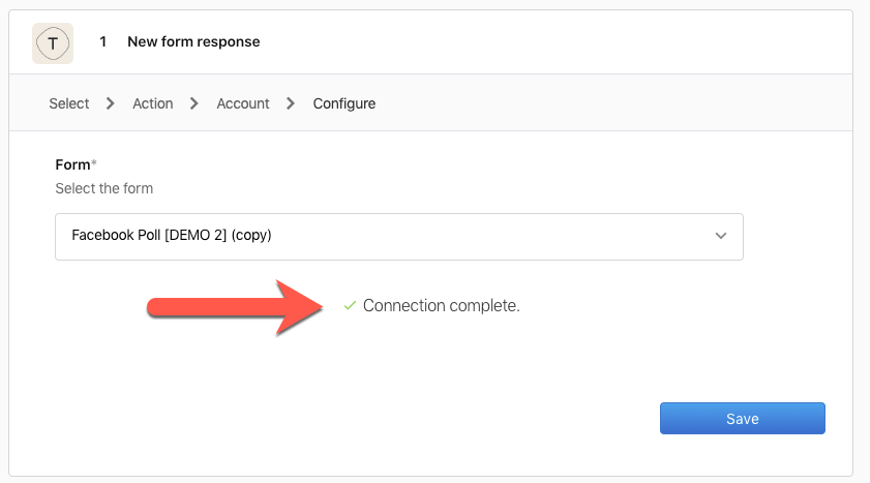
Next, you can select the Poll you just created:
At this point, Claris Connect will ask you to submit the chosen form so that it can learn what to expect, and also so that you can then use that sample response in the next actions that you will add to the flow.
Go to Typeform and copy the URL for your form:
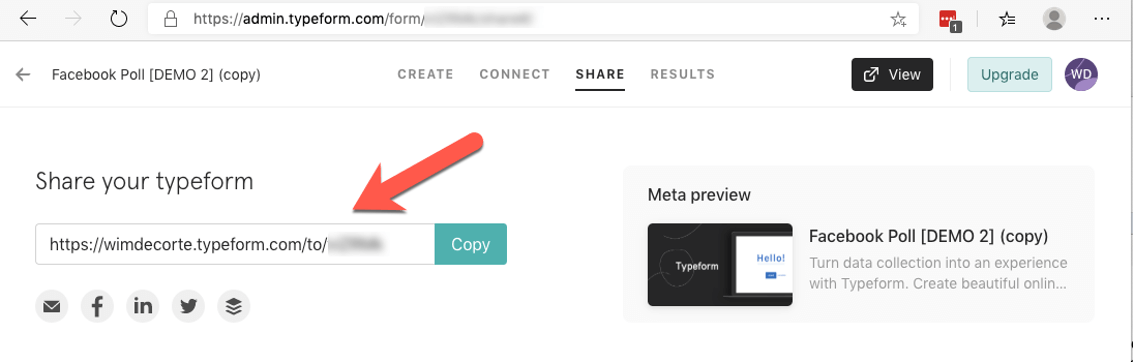
And use that URL in a new browser tab, make a selection and submit the form.

Claris Connect will indicate that the form submission was received.
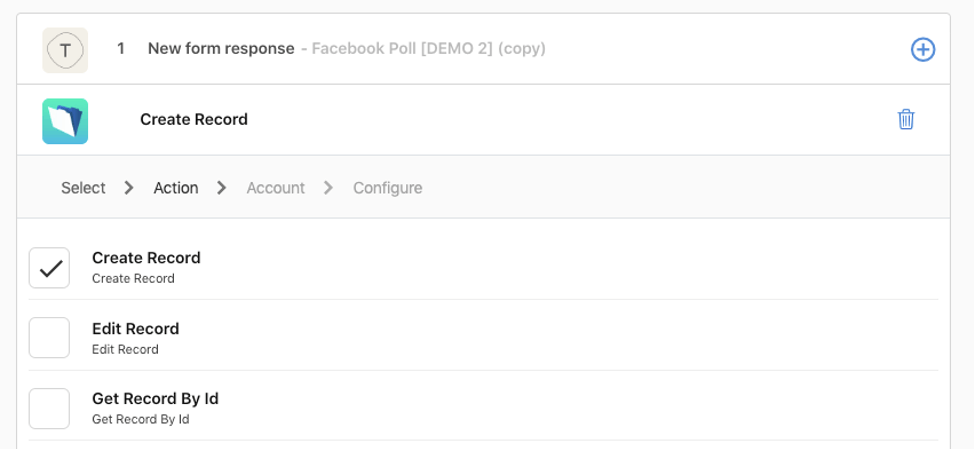
As the next action in the flow, select the FileMaker connector that fits your deployment: regular FileMaker Server, FileMaker Cloud, or an on-premise agent, and choose the ‘Create Record’ event.
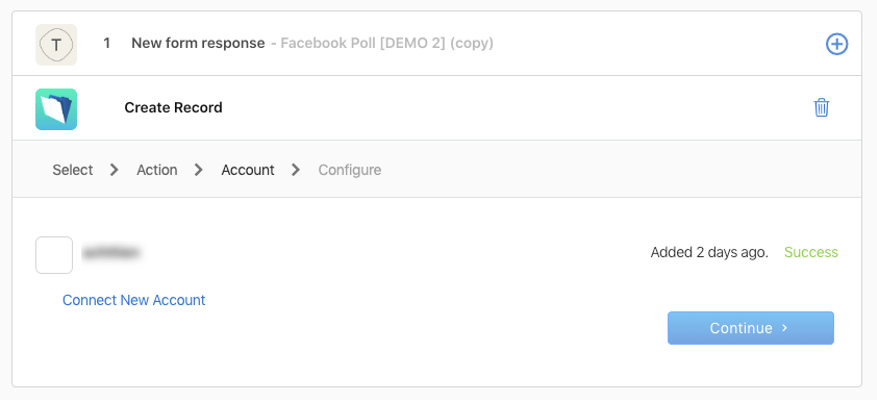
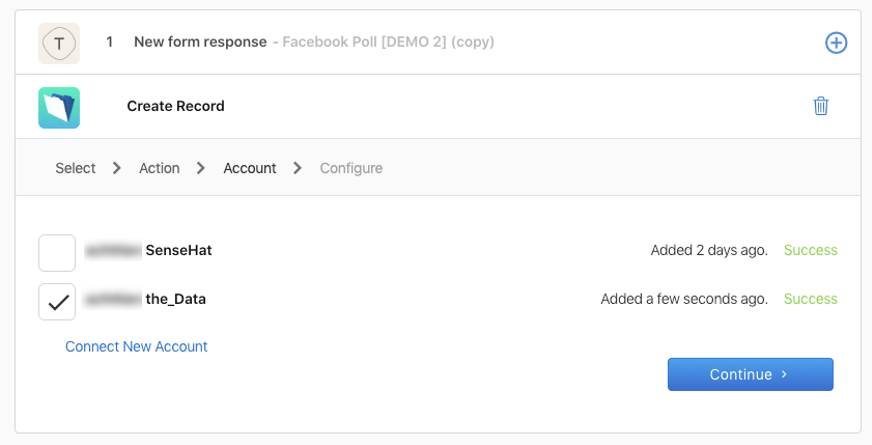
Claris Connect will show you any existing connections you may have already. A connection encompasses a particular FileMaker server, file, and account, and the one listed is not for the file that I want to use for this.
Click on ‘Connect New Account’ and fill in the DNS name of your FileMaker Server, the name of the FileMaker file that has the layout you want to interact with and the credentials to use:
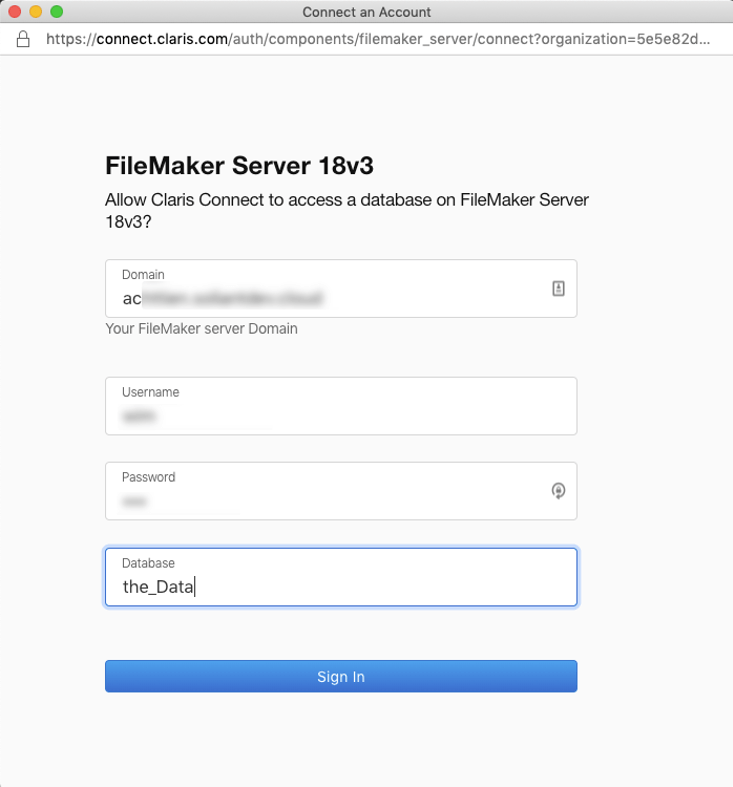
Sign in to confirm that all the settings are correct, and your new connection will show up in the list. Make sure to rename it to something meaningful to distinguish it from the other connections. I use the name of the server and the name of the file.
With the new connection selected, you can continue with the rest of the configuration. The next step in the action is to select the layout that will be used to create this new record.
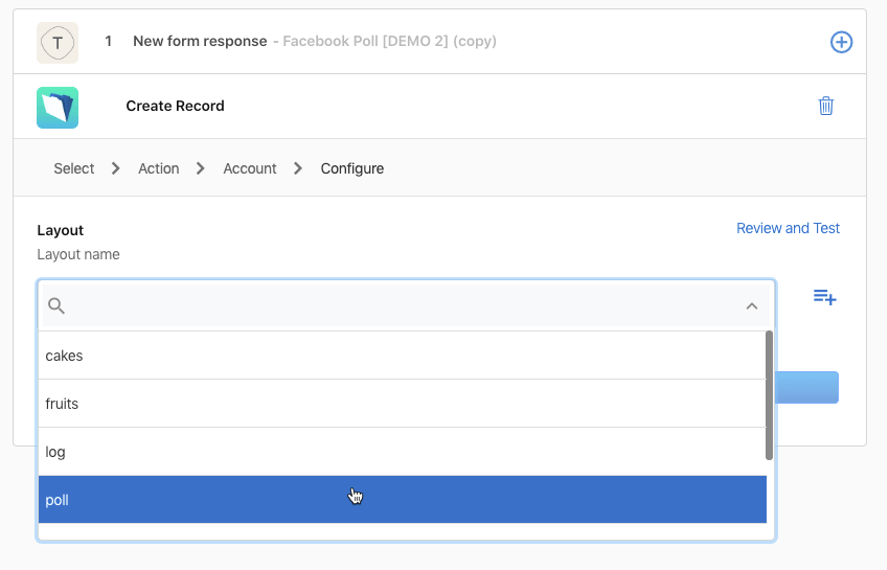
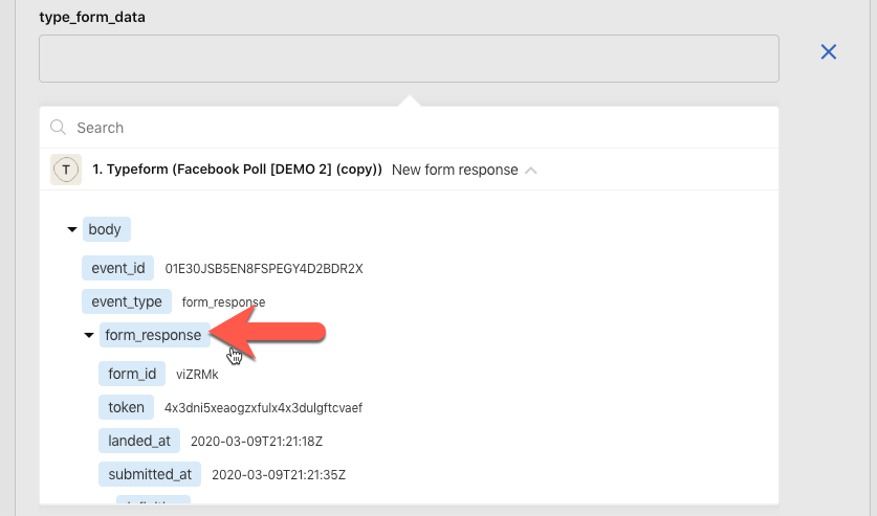
Claris Connect will show all the fields on that layout so that we can pick from the Typeform poll’s data what needs to go where.
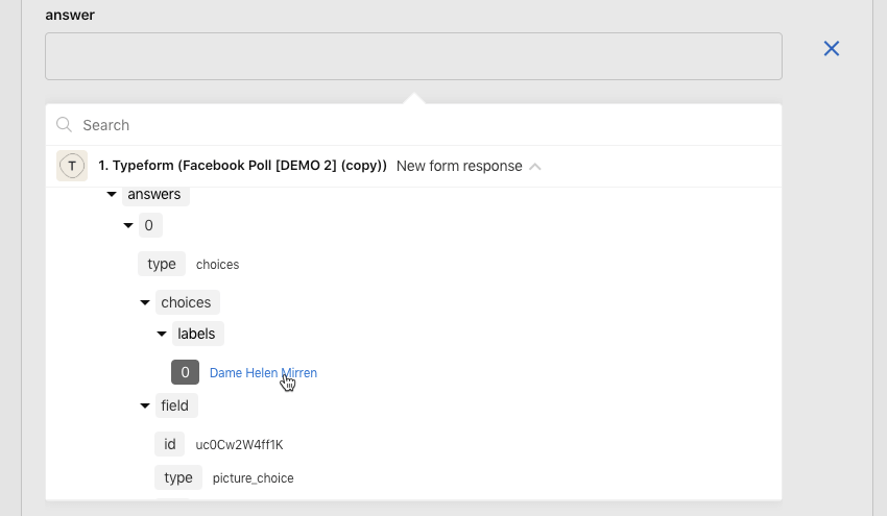
For the ‘answer’ field, pick the first response:
And for the ‘type_form_data’ field select the form_response node:
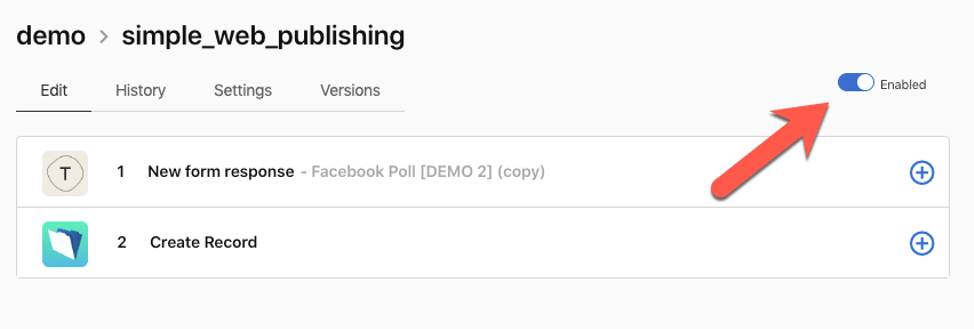
Save the settings and enable the flow:
In your browser, bring up the form again and submit a new response. In the FileMaker file you will now see a new record with the data from your form:
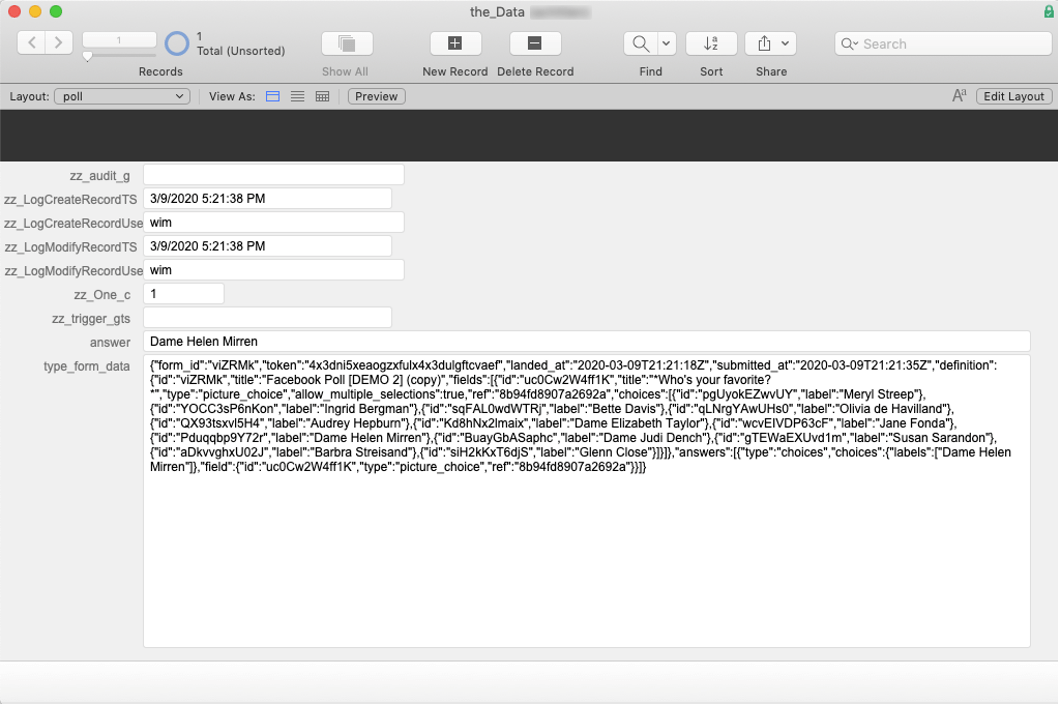
Since you selected the full response node to go into the ‘type_form_data’ field, you now have all of the form’s JSON that you can parse further if you need to.
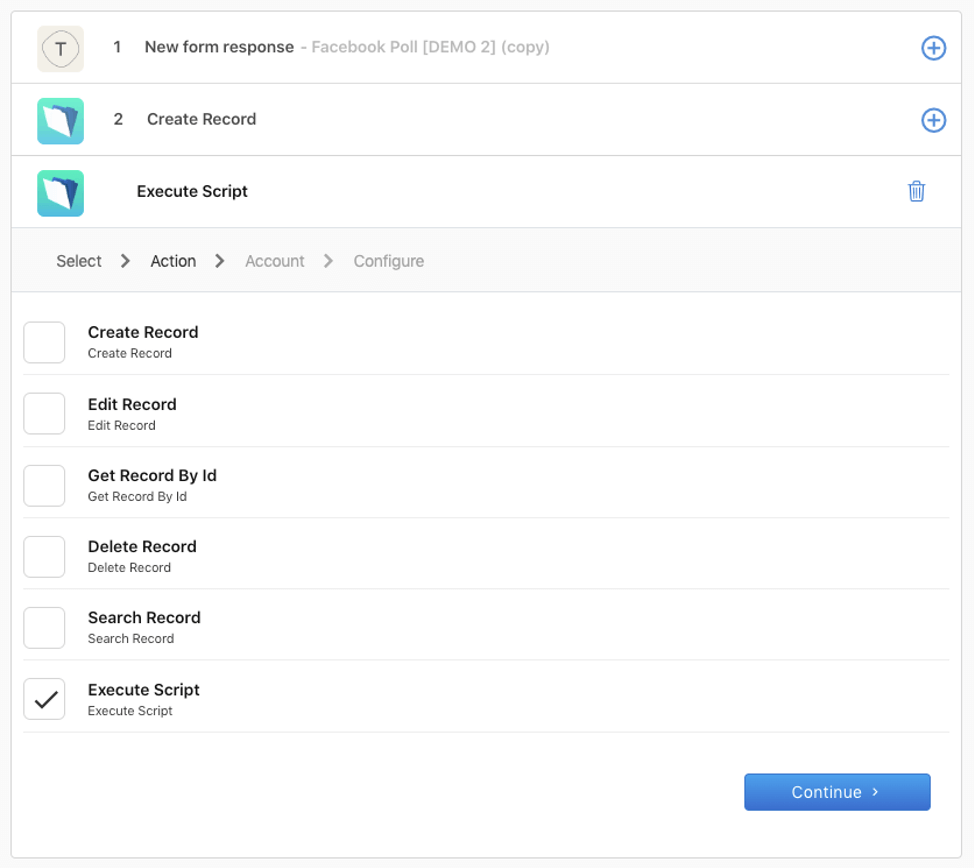
You can add an action to your flow to execute your FileMaker script, for instance, to do that parsing.
With this flow, you now have the ability to share the Typeform URL and have data flow into your FileMaker solution.
Some of the benefits using these types of flows to enable web input to your FileMaker solution
- Much like WebDirect, you do not need any web coding skills to create and set up the form
- The infrastructure is not yours; you do not need to worry if 100 users decide to submit the form at the same time. Both TypeForm and Claris Connect take care of handling that load. With WebDirect, your server would need to be able to handle the 100 actual client sessions, which are much more taxing on your server’s resources than the few Data API connections that Claris Connect uses.
- If you do not want your FileMaker Server to be exposed to the internet at all you can use the Claris Connect on-premise agent to act as the gateway (see our blog post about the on-premise agent)
TL;DR
It actually took me much longer to write all of this up than to set up and configure this flow. Form builders like the ones supported by Claris Connect are an easy and scalable way to allow efficient web input for your FileMaker solutions. Or your MySQL solutions for that matter, the flow data can just as easily flow to the MySQL connector.
And here’s a thought: while not covered by Claris Connect connectors, you could actually build the form using the Typeform APIs from inside FM…
I am actually glad to read this blog posts which consists of lots of useful
data, thanks for providing these data.
Hello Wim – Thank you for this post. When I attempt to replicate this configuration in Claris Connect, I see the following error: “Invalid input value detected Please verify your data fields.” It seems that Claris Connect will not allow the form_response node as an input. I’m wondering if you have any tips to troubleshoot this. Thanks!
Hi Kyle,
Unless something changed on the Connect side, the most logical error would be that the field you designate as the target for the form_response node is not a text field.