While Claris Connect mainly serves to construct business workflows across cloud apps, it has a unique component that allows for the connection of on-premise applications too.
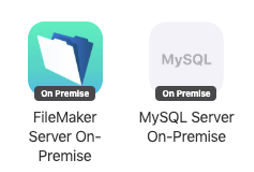
For instance: you have a FileMaker Server hosting a custom FileMaker app but do not want to expose that server to the internet to allow Claris Connect to work. You do, however, want to involve that FileMaker app in your flows.
In this scenario, you can download the on-premise agent and have it act as the gateway to and from Claris Connect.
The on-premise agent currently can connect to your in-house FileMaker Server (18v3 required) and your in-house MySQL databases (version 8.x); they can only be used as steps in a flow, not as triggers to start a flow.
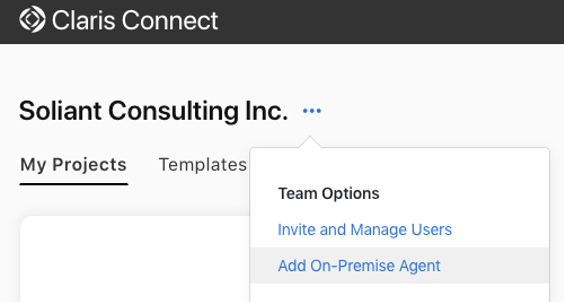
To start, click on the “…” menu next to your subscription and select “Add On-Premise Agent.”
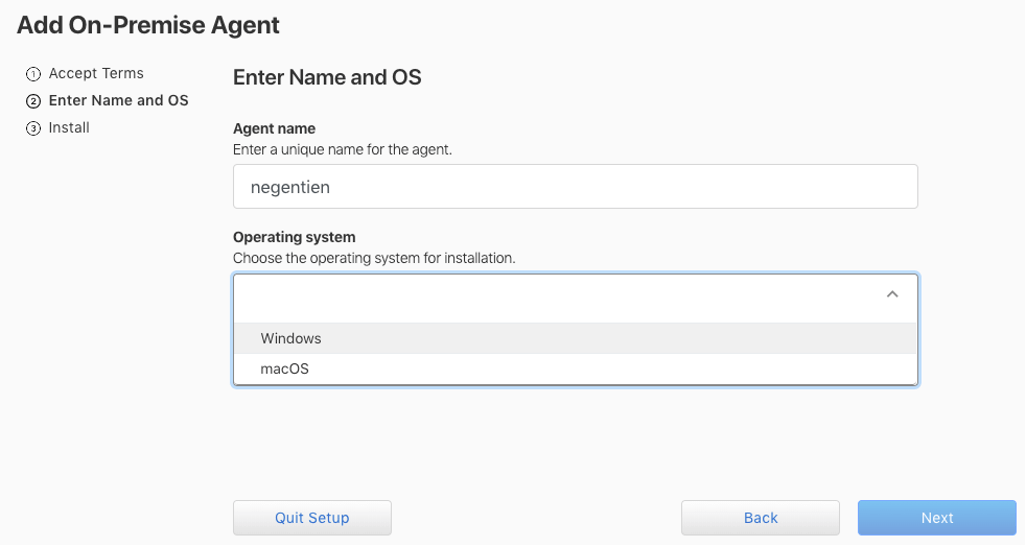
Provide a name and pick the operating system on which you want to install this agent:
Claris Connect will generate a serial number and will wait for the agent to come online. Keep that serial number handy because you will need it when setting up the agent and then later when using a connection to the agent from a flow.

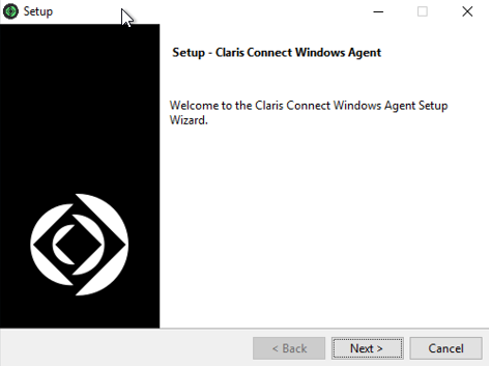
Leave Claris Connect as it is, download the installer, and copy it over to the machine on which you want to run it. That machine does not need to be your FileMaker Server or MySQL server, but the machine that the agent is on needs to have internet access and also needs access to your on-premise resources. The agent does not need to have firewall ports opened.
Unzip and run the installer.
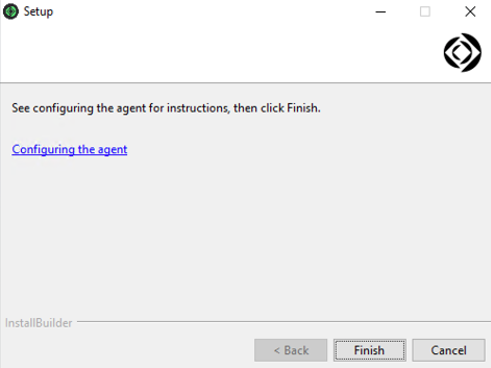
Along the way, you will be asked to input the serial number that Claris Connected generated. At the end of the installation process, you can open the online help that will guide you through the final steps of the process.
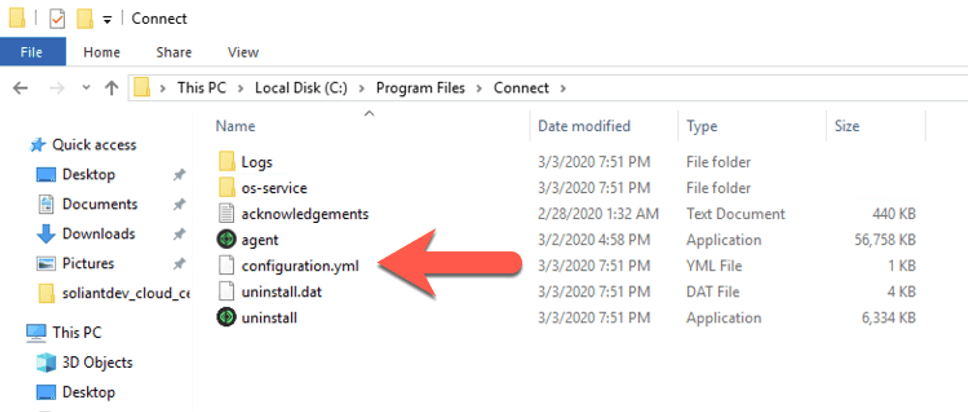
The agent does not automatically start; you need to make a few configuration changes first. Navigate to where you chose to install the agent and open the configuration.yml file in your favorite text editor:
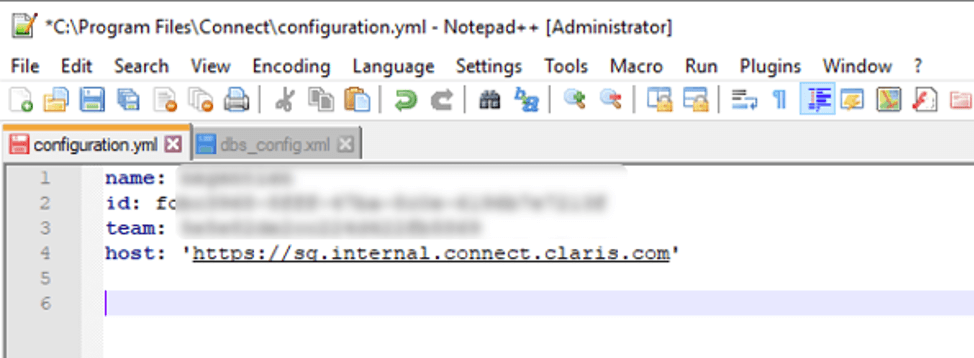
The config file has the basic information about your Claris Connect subscription; you need to add how the agent can connect to your FileMaker Server or MySQL server.
The example will use a FileMaker Server.
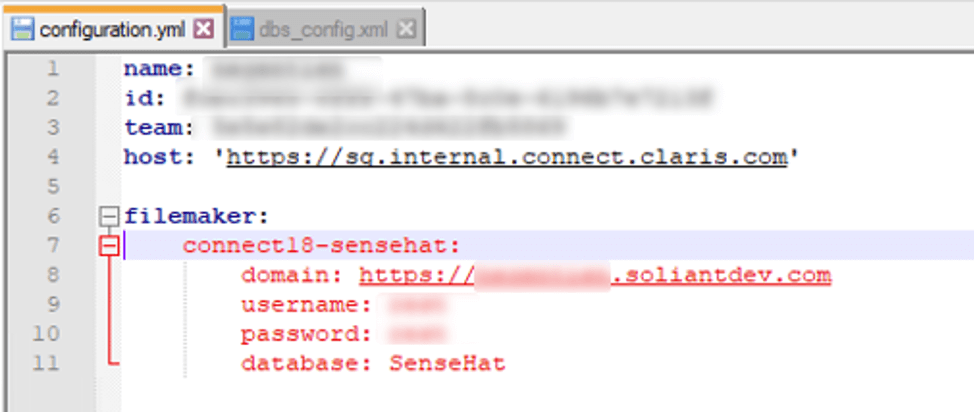
For each connection, the agent will maintain we need to add the following:
- Indicate whether the connection is Filemaker or MySQL
- A unique name for the connection (the agent can maintain connections to various internal servers and many files)
- The DNS name of your internal FileMaker Server server
- The name of the FileMaker file
- The credentials for that file (with Data API access enabled in their privilege set)
For instance:
With the configuration made, you can start the agent from the command line with “agent start” so that it runs as a service.
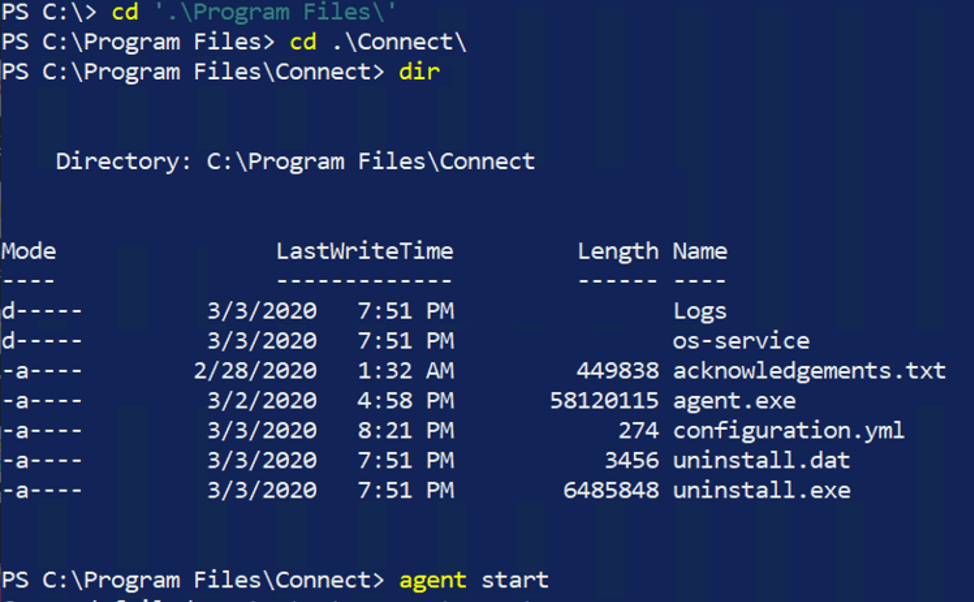
The agent is basically a node.js JavaScript application that runs as a Windows Service or macOS daemon when you use the “start” command.
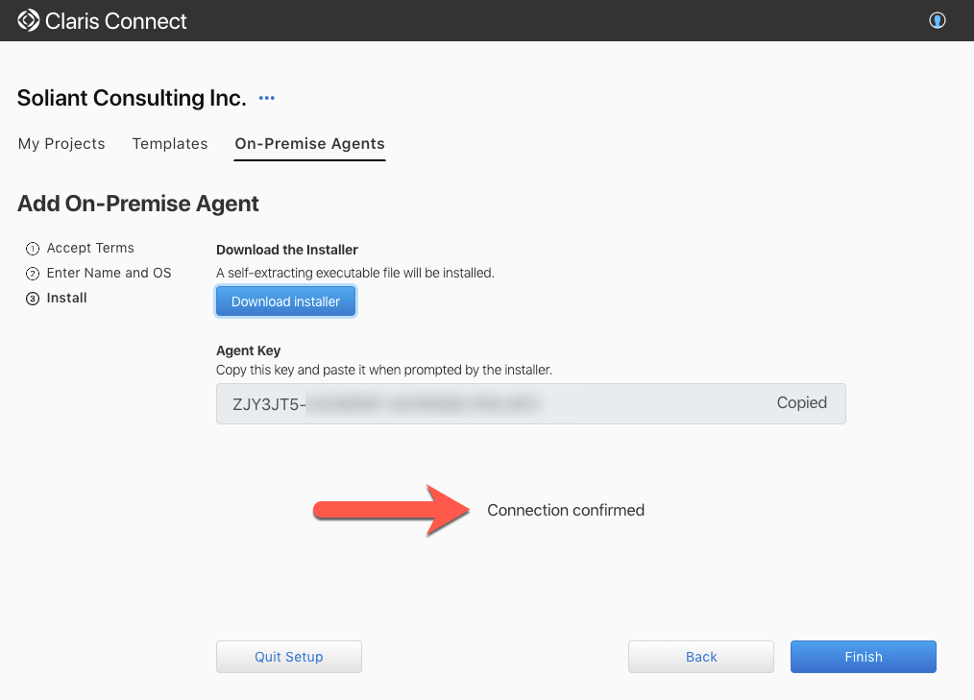
When the agent has started, Claris Connect will confirm that it has a valid connection with it:
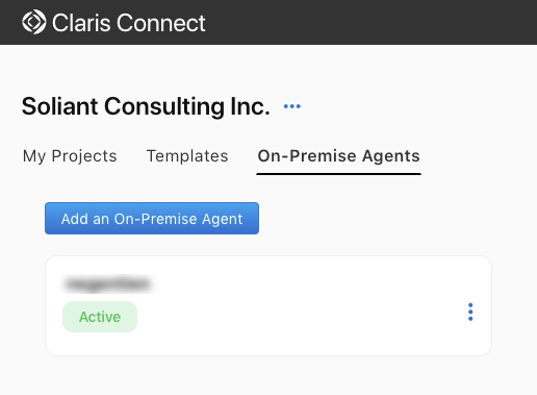
That agent will now be listed as an active agent under “On-Premise Agents”:
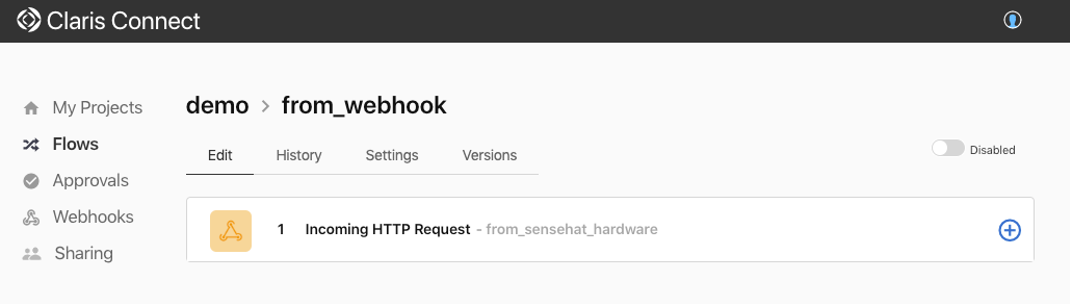
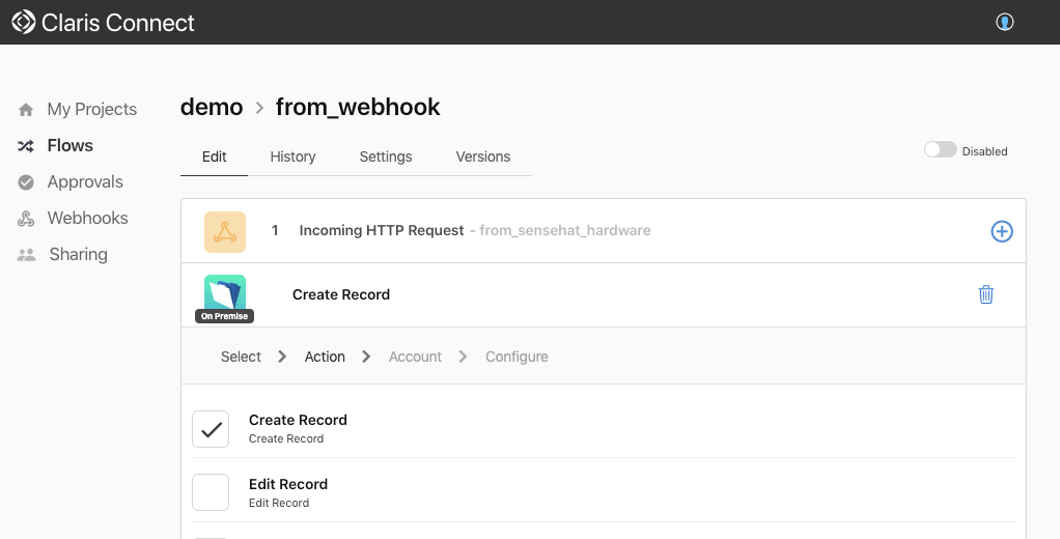
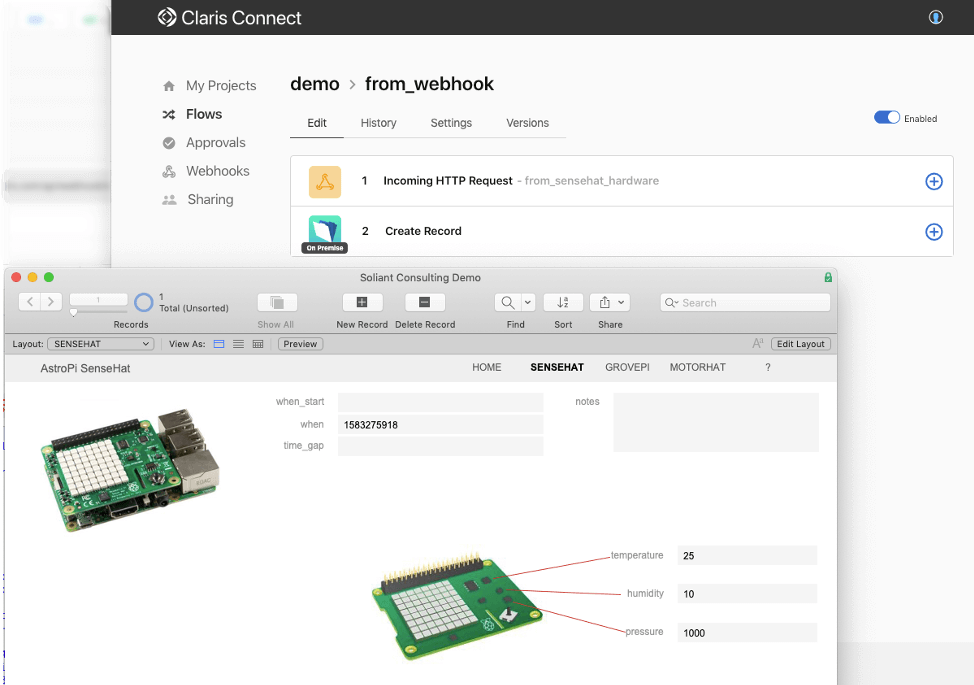
To close the loop, you can now use that on-premise FileMaker Server connection. The example below will use a flow that is triggered by a webhook (a Raspberry Pi sending sensor data to Claris Connect):
Add an action to the flow and choose the on-premise FileMaker Server connector. From the list of triggers, pick the ‘create record.’ The goal is to create a new record in the SenseHat FileMaker file that we have configured in that configuration file earlier.
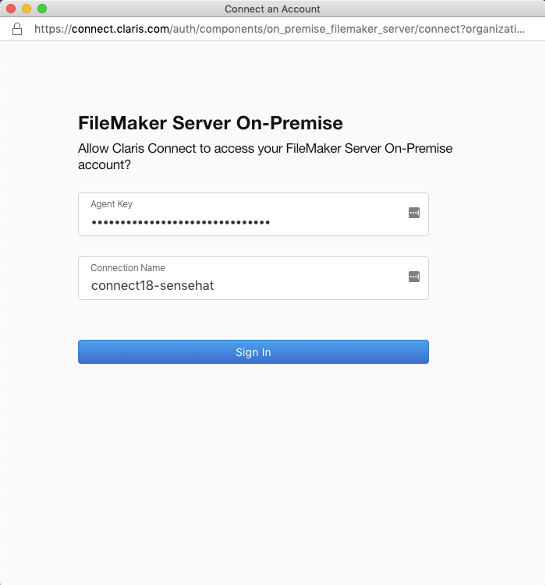
Since this is the first time you will use this on-premise agent, you will be asked to specify which agent it is. To do that, you will use that agent’s serial key and the name for the connection to the specific file as defined in the configuration.yml file.
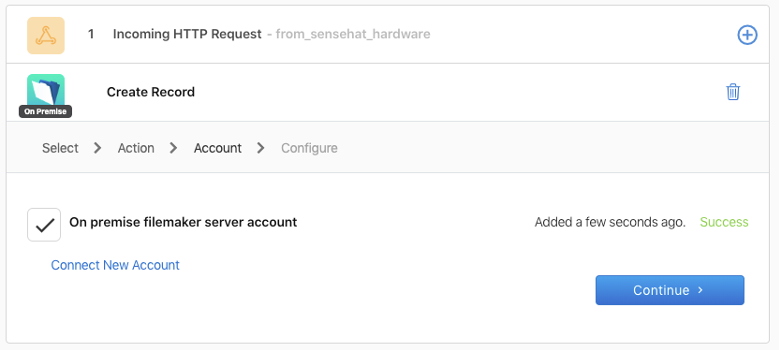
If all goes well, you will see the confirmation that your flow can connect to the agent and ultimately to your FileMaker file.
When you continue, you get to pick a layout in the configured FileMaker file. That layout determines the table content and exposes the fields that are available to you to set data into. For each field, you can pick from the data received by the webhook (step 1 in the flow).
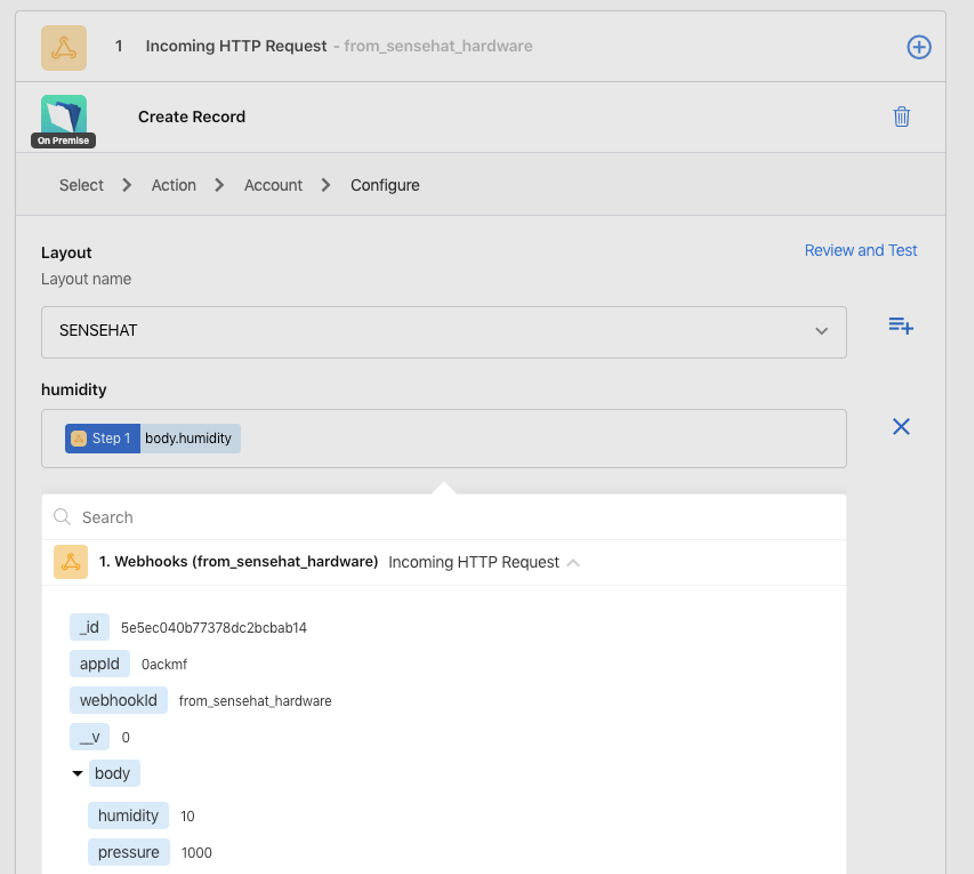
When the Raspberry Pi now collects its sensor data and sends it to the Claris Connect webhook, a new record is created in our on-premise FileMaker Server file, through the agent:
Pingback: Claris Connect - Web Services Made Easy - FileMakerProGurus
Wim,
Have you used the other options with the agent application, i.e. update, decrypt, encrypt? The –help option doesn’t give any examples of how to actually use the options and I haven’t found any documentation in the Claris KB.
Hi Tom,
No, I haven’t had the need for those yet. I suggest posting to the Claris Connect community or talking to Claris support.
Best regards,
Wim
Thank you Wim for clarifying the On-Premise agent option. I was really confused as to its purpose.
Would you say it adds an extra layer of security that substitutes for the lack of oAuth in Connect?
Regards
Alistair
Hi Alistair, can you expand a bit on what you mean by “lack of oAuth in Connect”?
The sole purpose of the on-premise agent is to give you the ability to expose one or more of your on-premise FMS boxes to Connect without having to open port 443 (and the Data API) to each of your internal FileMaker Servers directly.
Wim !
In teh configuration file, domain: ‘example.com’ should have ‘ ‘ otherwise it doesn’t work
Thank you
I notice that the Connect agent switches frequently between Active and Inactive state.
Do you know what is the reason for this behavior?
Hi Mario,
No, nothing that I have seen. I would suspect outbound connectivity where the agent cannot contact Connect.
How frequently does this happen? Is there a pattern to it?
Best regards,
Wim