This post is one in a series of guides that walk you through installing, configuring, and using Zabbix to monitor your FileMaker servers.
- Part 1: Getting Started with Zabbix
- Part 2: Installing Zabbix as an Appliance (this post)
- Part 3: Installing Zabbix from Scratch
- Part 4: Installing Zabbix Agent
- Part 5: Zabbix Configuration
- Part 6: Using Zabbix
- Part 7: Maintaining Your Zabbix Server and Agents
Zabbix Appliance Overview
The Zabbix Appliance is a pre-installed Linux server plus Zabbix server. Its purpose is to remove all hurdles for those not inclined to do the initial installation themselves. It allows you to get up and running with Zabbix with almost no effort at all.
The Zabbix website mentions that it should be used for testing rather than production, but we believe it is production-ready for the purpose of monitoring FileMaker Servers.
There are, of course, some trade-offs, but they are minimal. Mainly you do not get to choose the type of back-end database that Zabbix will use (it will be MySQL version 8 as per Zabbix 4.2.3) nor the flavor of Linux for the underlying operating system (it is Ubuntu 16.0.4 as per July 2019). Chances are that you are not interested very much in this anyway.
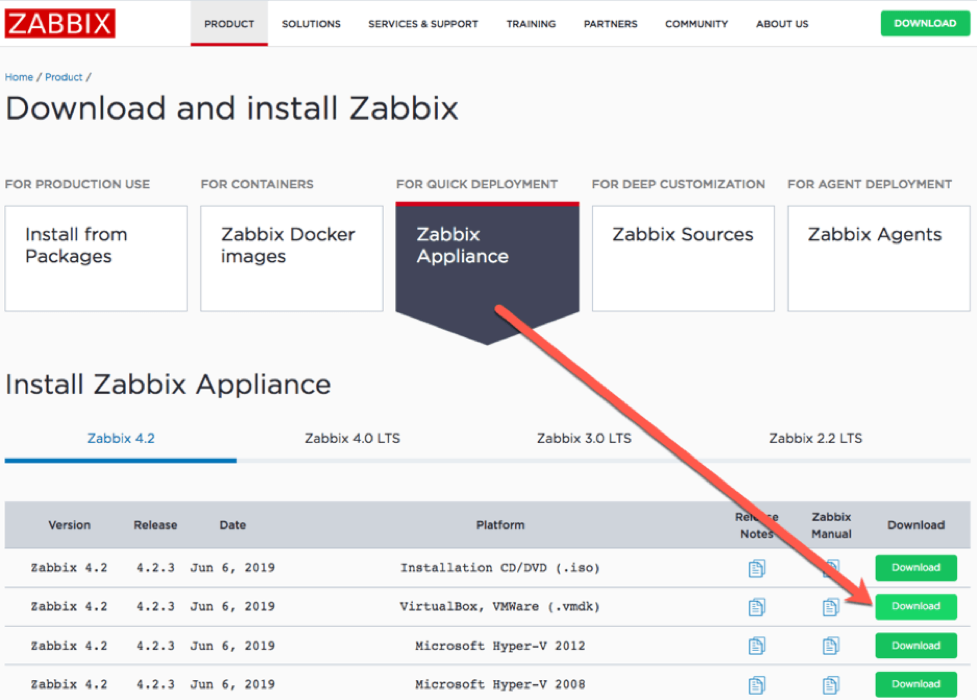
Downloading the Appliance
The first step is to download the Appliance in your preferred format from the Zabbix downloads page. For this demo, we will use the image that works with both VirtualBox and VMware.
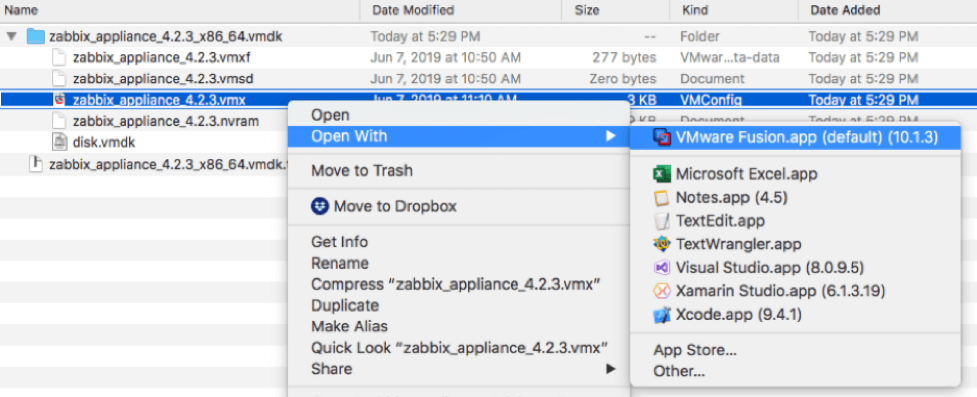
The download expands into a set of files, that can be opened directly in VMware Fusion (or VMware Workstation on Windows or hosted in your VMware environment).
When the virtual machine starts, it shows a command prompt:
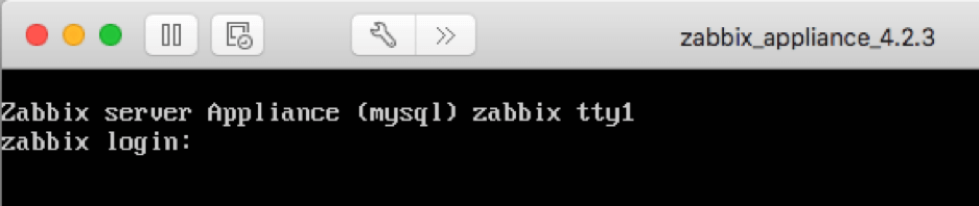
For now, we’re mainly interested in logging into Zabbix itself, so we do not need to do anything in that command prompt window.
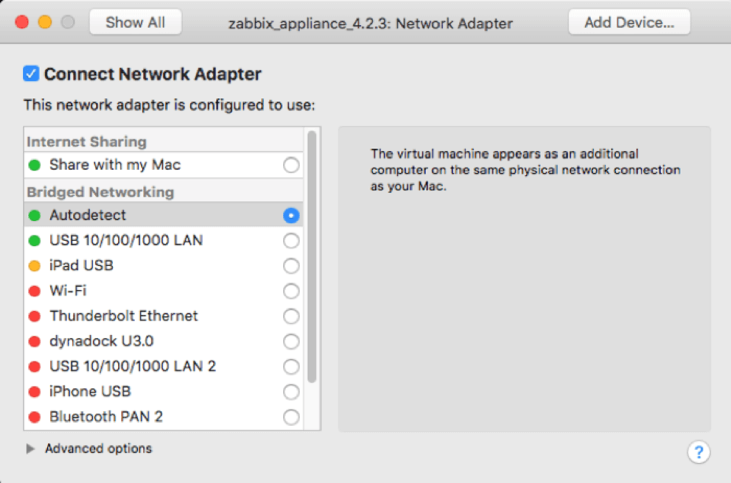
Configuring VMware Settings
I configured the VMware settings so that the virtual machine shows up as a separate machine on my network:
At this point, the virtual machine picked up a dynamic IP address through DHCP. All I need to do is figure out what the IP address is (I use IP Scanner Pro for this, but your DHCP server’s console would also provide you this information) so that I can point my browser to it and log in:
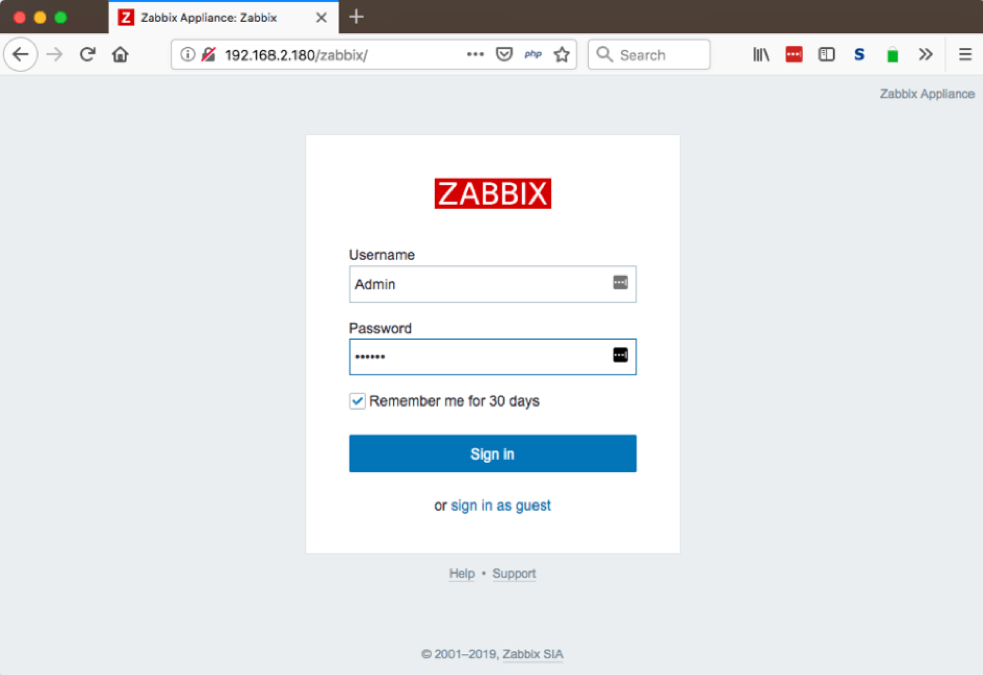
http:///zabbix The default credentials for the Zabbix frontend are username Admin (capital A!) and password zabbix:
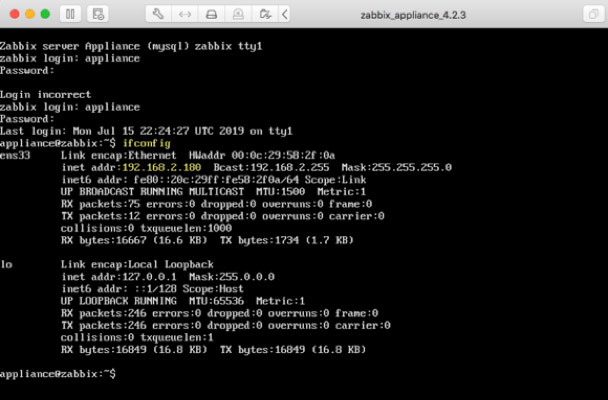
Or if you are not averse to a little bit of command line use, in VMware Fusion’s window, log in to Linux with the default credentials for the operating system (username: appliance, password: Zabbix) and use the “ifconfig” command to show the network card configuration. See the yellow highlighted command the IP address listed:
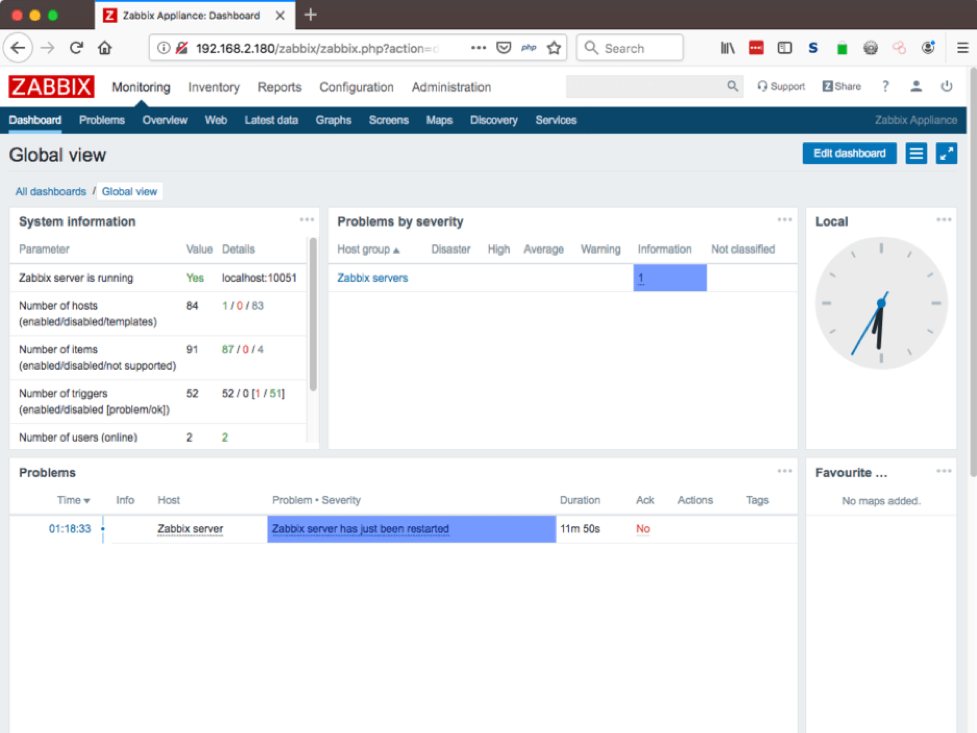
Template Import
And with that we are in the Zabbix admin console. From this point on, it is just a matter of importing the templates that monitor various items of a FileMaker Server and adding your FileMaker Server as a host to monitor. We explain these steps in one of the next guides in this series.
The Zabbix Appliance manual covers some useful details, such as which ports are open on the Linux firewall in case you need to tweak those.
Static IP Address Requirement
There is one important OS configuration change you’ll need sooner rather than later, and that is to switch your virtual machine from a dynamic to a static IP address. Your FileMaker Server will need to be able to reach it at all times so a dynamically changing IP address will not work well.
In the VMware Fusion window, log into the OS with user ‘appliance’ and password ‘zabbix’ and run the following command to install the nano text editor, one of the easiest to use:
sudo apt-get install nanoWith nano in place we will update Ubuntu’s network configuration and tell nano to open the configuration file with this command:
sudo nano /etc/network/interfaces
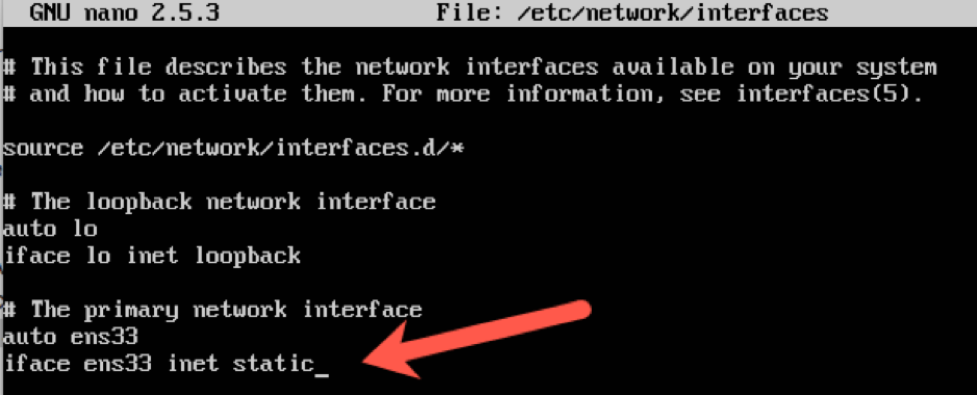
The default settings will look like this:
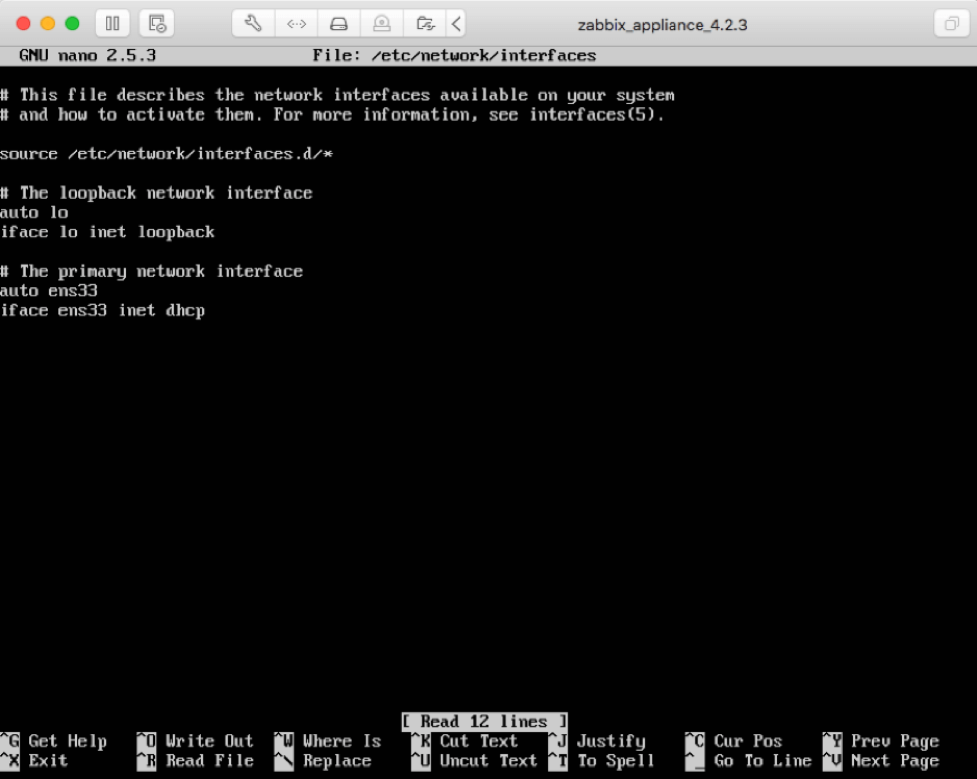
We are interested in the last line as it sets the network card to use DHCP.
Change the word “dhcp” to “static”:
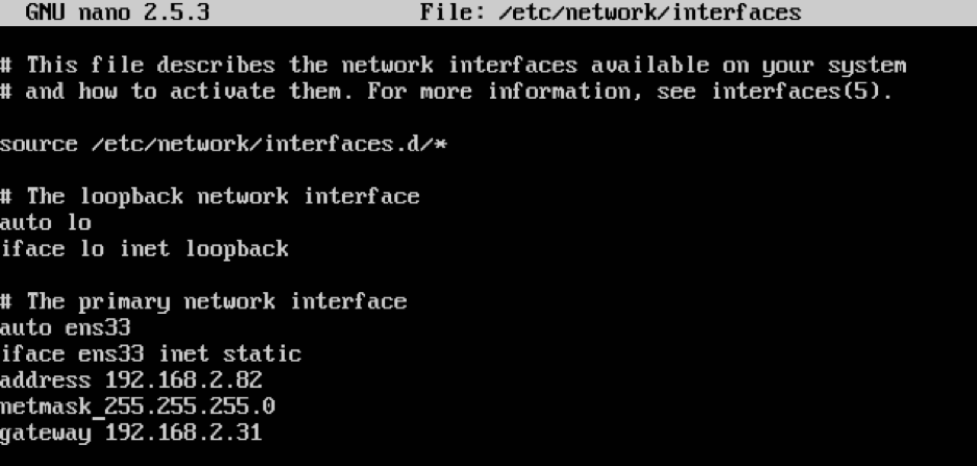
And add 3 lines below it but with a static IP address, netmask and gateway that fits your network:
Then hit control-o (oh, not zero) to save the file:

Hit enter and then control-x to quit the text editor. This should drop you back to the command line prompt. As a final command, reboot your instance to have the settings take effect:
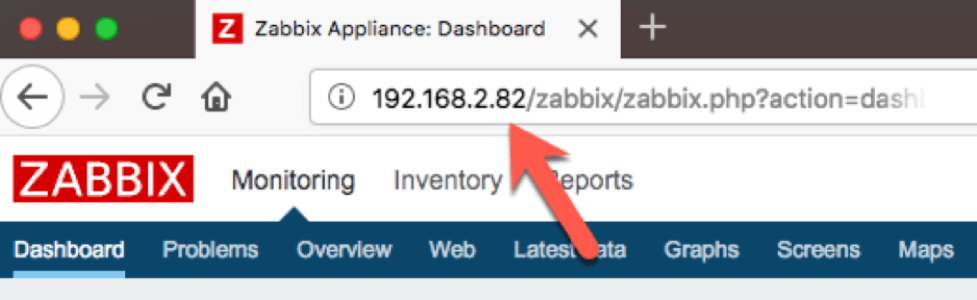
sudo reboot nowNow you can use that new static IP address in your browser to work with the Zabbix admin console:
Core and Memory Configurations
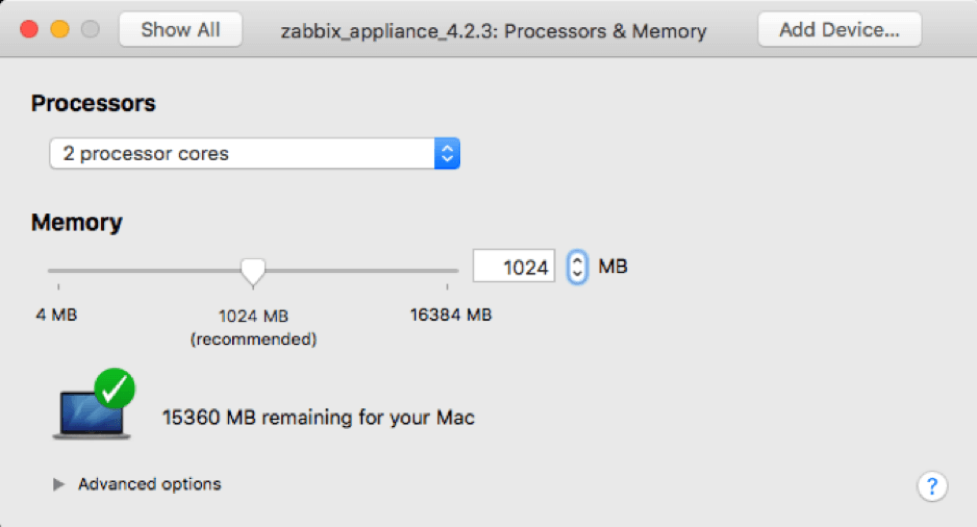
The virtual machine is pre-configured to use 4 cores and 4GB of memory. Depending on the number of FileMaker Servers you want to monitor (or other servers/devices you intend to monitor), you can scale that down significantly. For my purposes, I have it set to use 2 cores and 1GB of RAM, since I will only need to work with two to four FileMaker Servers. To adjust the resources for the virtual machine, stop the instance and use the VMware preferences to choose the number of processors and memory you want to assign to the machine.
Download a PDF of This Post
Work with Zabbix FileMaker Server Experts
Would you like to set up Zabbix for your FileMaker solution but would like guidance? Our team has worked extensively with Zabbix, and we’re happy to help. Contact our team to get started.
Thanks for making this walk-through guide!
I am walking through the process and got the IP address via the ifconfig command on VMWare, but for some reason, entering it at and “/zabbix/” doesn’t load. The page just times out without connecting.
Have you encountered this at all? any suggestions about how to proceed?
Hi Zack,
Can you post to community.filemaker.com and reference our post? I’ll pick it up there. It’s a better medium to carry a conversation and get this fixed for you.
Best regards,
Wim