FileMaker Templates are out! Our team here at Soliant was lucky enough to help build the files and tutorials, and I wanted to share our hopes for how you can make use of them. Three templates are available so far, and each one targets a different business model: Job Tracking, Event Management, and Memberships.
Each template comprises a few parts:
- A core file
- Tutorials for how to add Build-On features
- A final file that includes all Build-ons
The idea is that you begin with a core file and take it in the direction that suits your needs. This is a new effort that has a lot of different uses, depending on who you are.
It’s like a Choose Your Own Adventure book, but with fewer deadly caves.
For the Beginning Developer
Templates are absolutely for you! You can poke around the core files to see what you can pick up about how they were developed. At the right of each layout, in Layout mode, you’ll see notes about the layout if we did something interesting or less-than-obvious.
When you’re ready to add on to the core files, choose one of the Build-Ons your business needs. Then follow the tutorial for that Build-On, step by step.
The tutorials look long, but don’t let that slow you down! They were written with enough detail for a beginner to be able to follow the steps and construct complete features in a FileMaker app.
- Begin by scanning the list of lessons in the tutorial, seen in the left-hand menu below. Some Build-Ons can be completed in one lesson, while others build up more complex functionality lesson by lesson. We broke out each piece of user functionality (AKA user story) into its own lesson, so that with each one you end up with something useful.For example, in the iPad Attachments Build-On for the Job Tracking Template, the complete work takes four lessons.[su_spacer]
First you give users iPad layouts, then let them add attachments, then view other attachments, and finally loop it all back to your FMPA users.
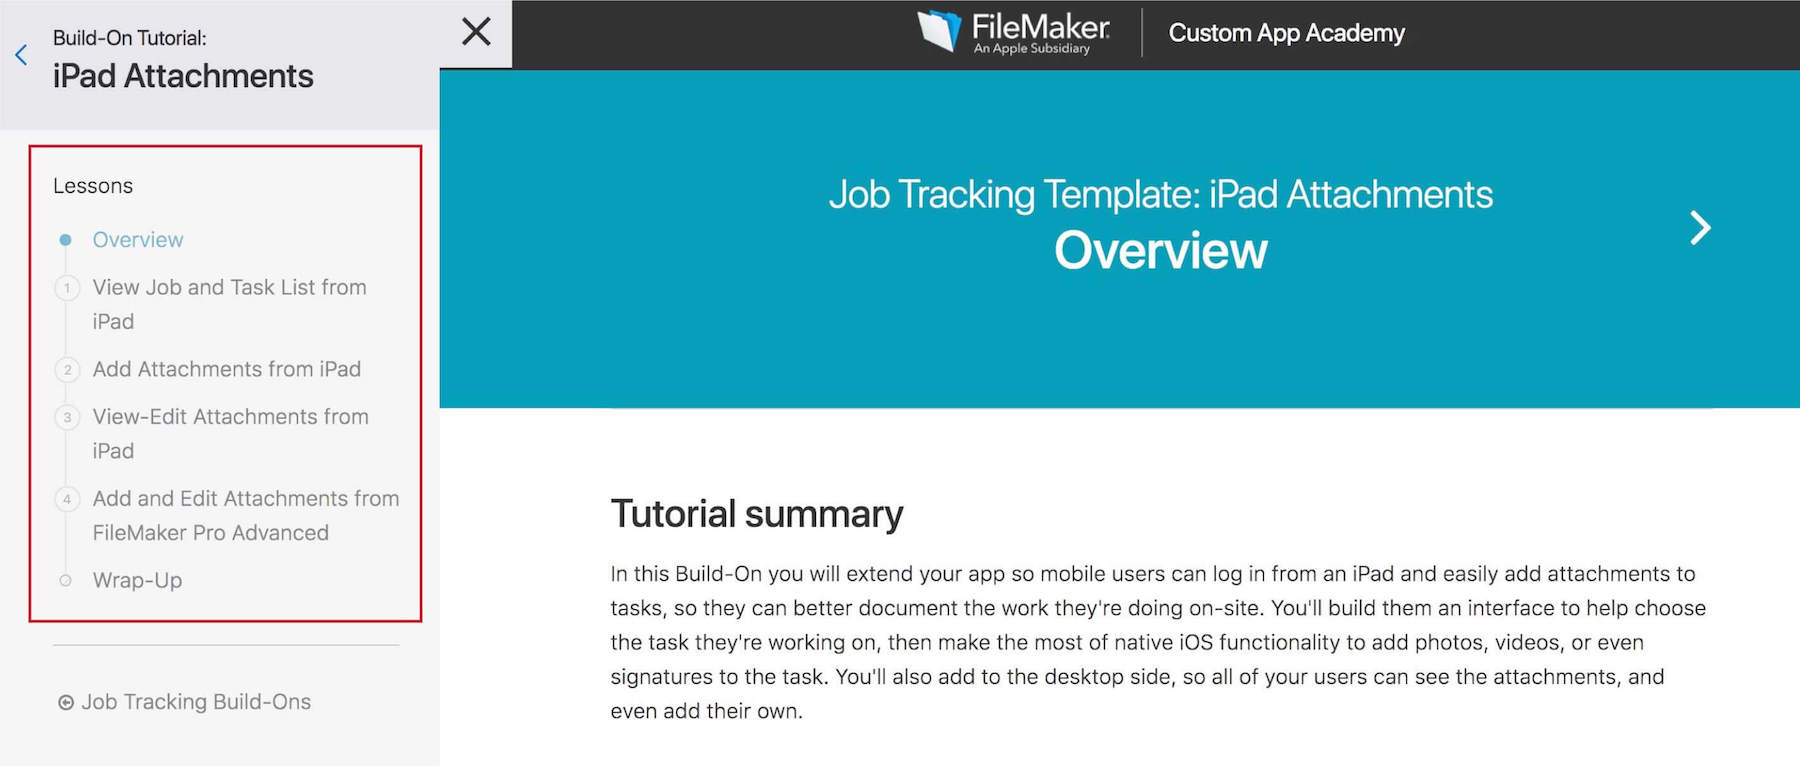
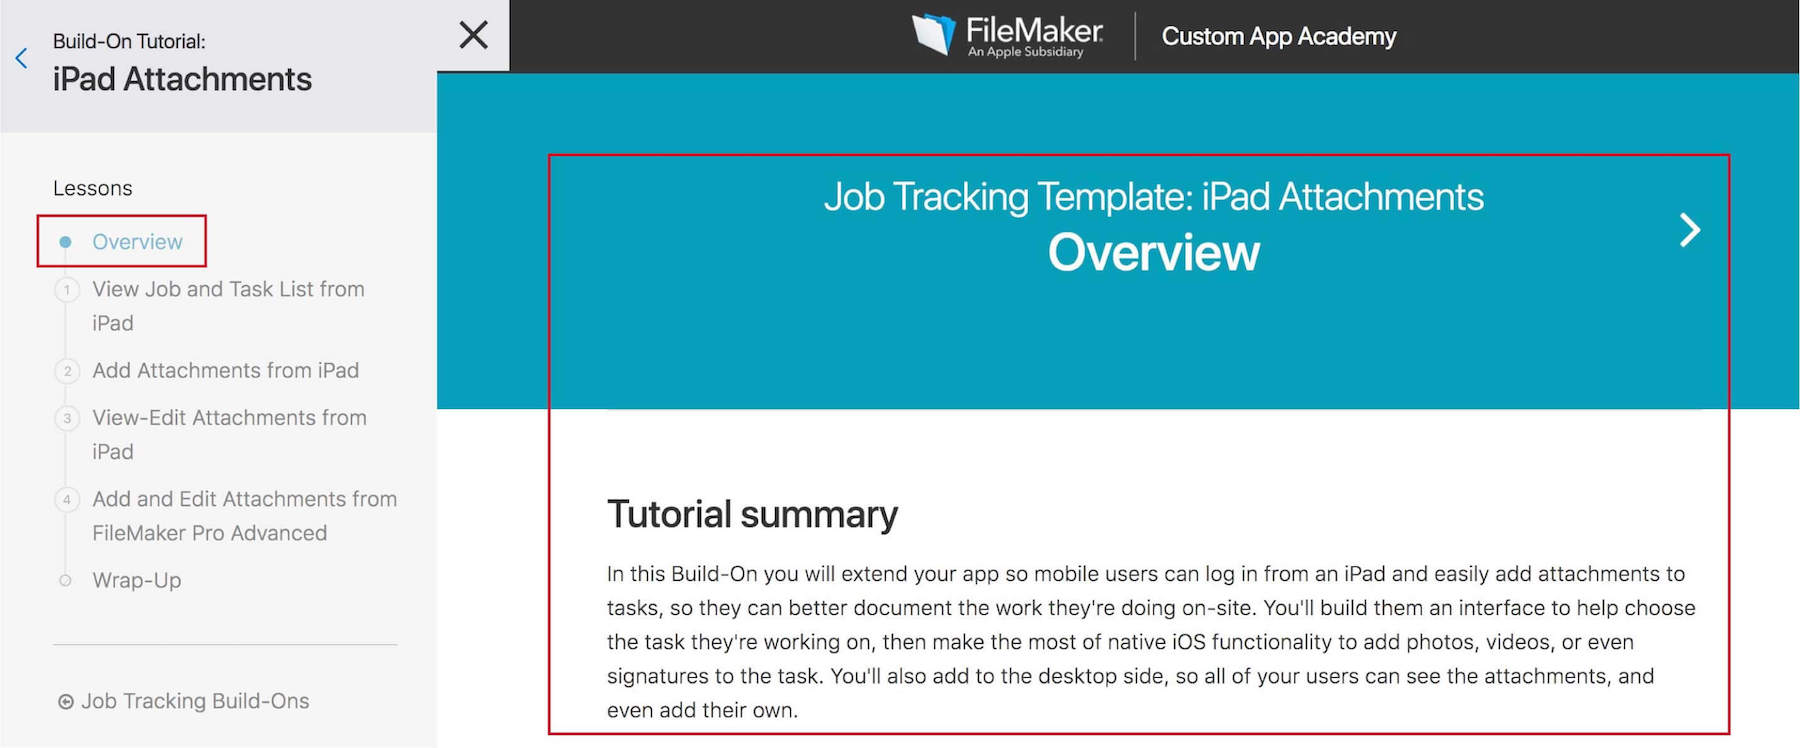
- The tutorial Overview (always the first lesson in a tutorial) tells you what the Build-On will do, so you’ll know whether it does what you need, and can decide whether to build it.
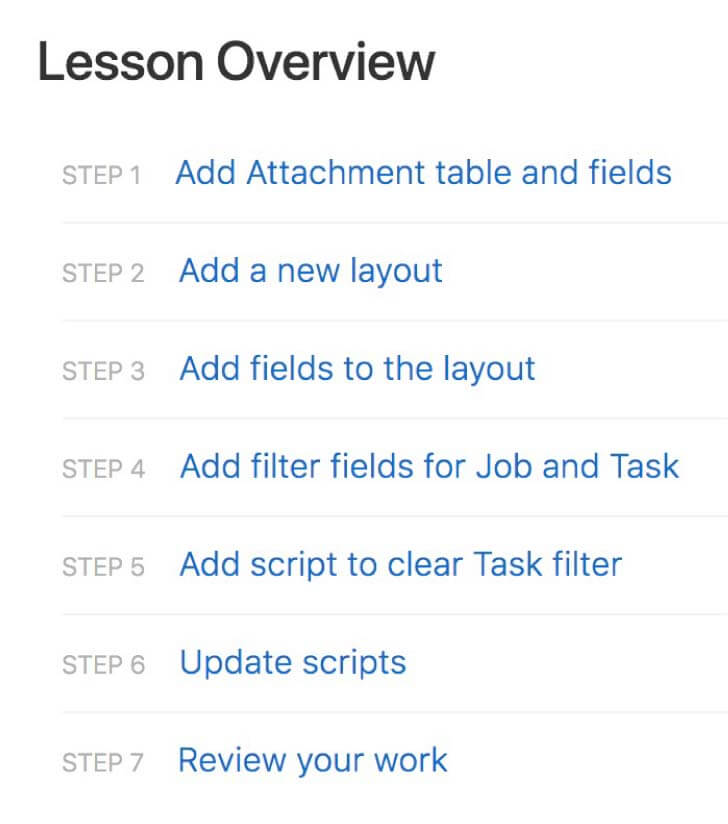
- Once you’re in a lesson, take a moment to scan the Lesson Overview. This is a table of contents listing each major step in the lesson, and it’ll give you the big picture of what you’ll be doing. (“First I’ll add a table and some fields, then I’ll work on a layout, then I write a script…”).
- When you’re ready, walk through each step closely. Before you know it you’ll be at the Review your work section watching your skills in action.
For the Intermediate Developer
The Templates offerings should be right in your wheelhouse. Consider the core file a solid jumping-off point: each core file was developed to the extent that it is usable as-is for basic functionality. However, it leaves room for additional work so you can customize it yourself. (The core files are more robust than Starter Apps, but less complex than Sample Apps.)
Think of your own needs and get creative with the modules you add on! We wrote and commented on the scripts, so they’d be transparent enough for an intermediate developer to expand on without a ton of investigation. Have at it!
If you want to add functionality described in one of the Build-On tutorials, you could follow that tutorial explicitly. Or, you could just scan it and follow the broad strokes. The tutorials are quite granular. However, we designed them so that if you don’t need that level of detail, you can scan them quickly to see the overarching steps within each one. Check out the Lesson Overview, scan through the screenshots for a quick view of the development, and then use your skills to quickly build the new functionality. If your build doesn’t work the way we describe the end result in the Review your work section, you can always go back through the instructions to see what we did differently.
For the Advanced Developer
Check out the files to see the development standards we used and consider adopting them for your own solution. These standards include passing parameters using custom functions, semi-modular scripting, and naming conventions. The theme itself went through a few rounds of vetting; you may find that useful for your own work.
For more on the design choices the team made, check out Alycia McGuire’s post.
Whatever your skill level: you’ve got this! If you have any questions, please feel free to comment below or contact our team directly. We’re happy to help!
These templates have been excellent! I’m self-taught on Filemaker and have created some fairly complicated solutions, but these templates have given me better ideas and insight. Thank you!
Hi
The link in the post goes to Claris Marketplace with many templated Are the templates mentioned in this post the templates called “Job Tracking”, “Memberships” and “Event Management”?
Yes, those are the ones. You’ll find them at the end of the list.