Claris Connect has one connector that packs an enormous amount of punch: webhooks.
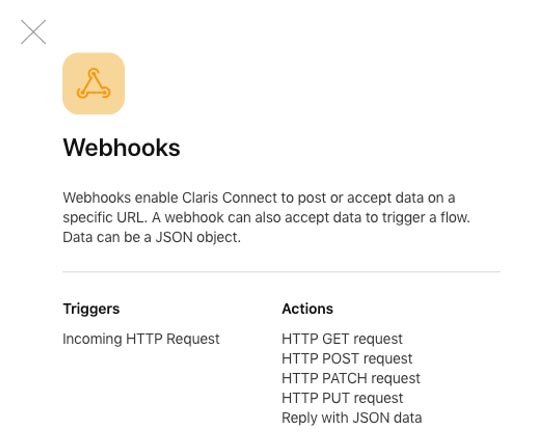
With a webhook as a Trigger, you can make Claris Connect act as a web service without writing a single line of code.
And with a webhook as an Action in your flow, you can communicate with Cloud apps or on-premise apps that are not covered by the regular Claris Connect connectors.
A webhook does this: If an event happens in System A, then System A will send some data about that event to System B, and it does that over an HTTP connection (typically HTTPS to encrypt the data).
For this to work, System B needs to be listening for HTTPS connections at all times and process the data that is being sent its way.
In essence, System B is a web service, and its URL is configured in System A so that System A knows where to send its data.
Let’s walk through an example. You have a FileMaker app where you track your sales, your customers, and their payments.
For your payment processing, you use Authorize.Net, which happens to be a cloud app that is not currently covered by Claris Connect.
You do, however, want to receive notifications when a fraud alert happens with one of the payments. Authorize.Net has an API endpoint to retrieve the list of payments held for potential fraud reasons. You could write a script in your FileMaker app to call that API endpoint and retrieve the list of transactions on a timed schedule. FileMaker is really good at calling APIs and working with the JSON data that it receives from those calls.
But a timed schedule is not real-time enough for your purpose. You want something to happen in your FileMaker app as soon as the Fraud alert happens at Authorize.Net.
Authorize.Net allows you to specify a URL where it can send these notifications as they happen.
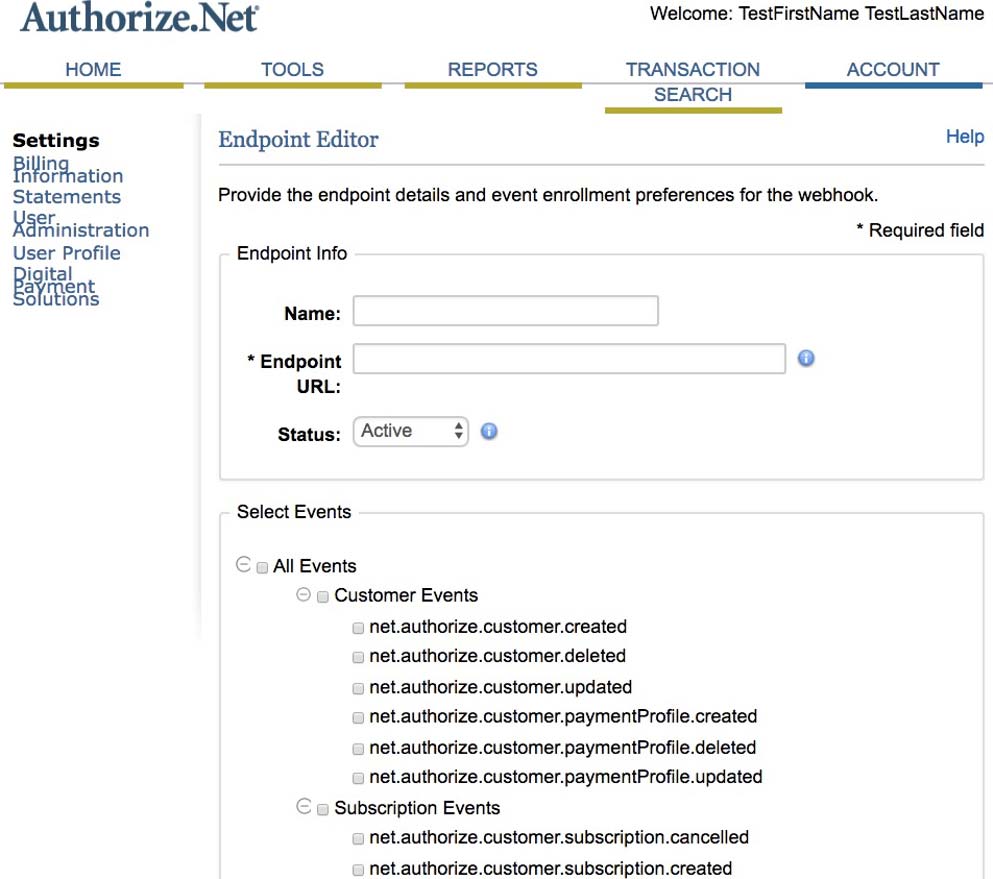
So what do you put in that “Endpoint URL” field, that is where Authorize.Net will send the notification and event data.
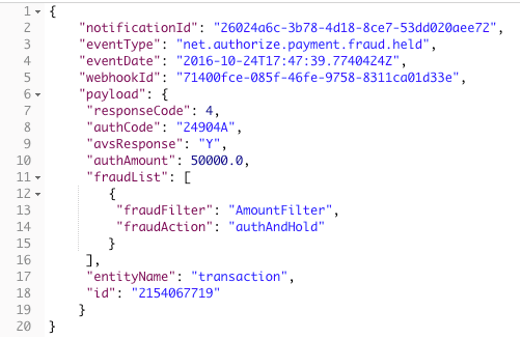
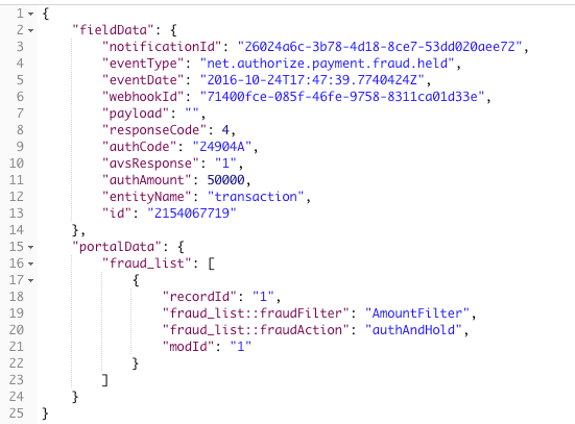
You could configure the Data API in your FileMaker, which will make your FileMaker Server behave as a web service that you can send data too. But there is a disconnect between what Authorize.Net sends (see Figure 3) and what FileMaker Server expects to receive (see Figure 4). They both have their own JSON dialect if you will. The figure below shows the difference.
You cannot make Authorize.Net change what they send, and you cannot make FileMaker Server expect a different JSON structure. What this means is that we cannot use the FileMaker Server Data API URL as a webhook for Authorize.Net.
Traditionally this problem would require putting something in the middle, something that can receive the JSON from the sender and transform it into JSON that FileMaker Server can receive. The FileMaker community has created wrappers around the Data API to facilitate this and to allow you to author these middleware web services in whatever web technology you prefer (or that you are mandated to use): JavaScript, .NET, Java, PHP, Ruby, Python, etc. This, of course, requires some level of proficiency in those technologies, and that puts it out of reach for many.
Now, however, you can use Claris Connect to act as the middleman.
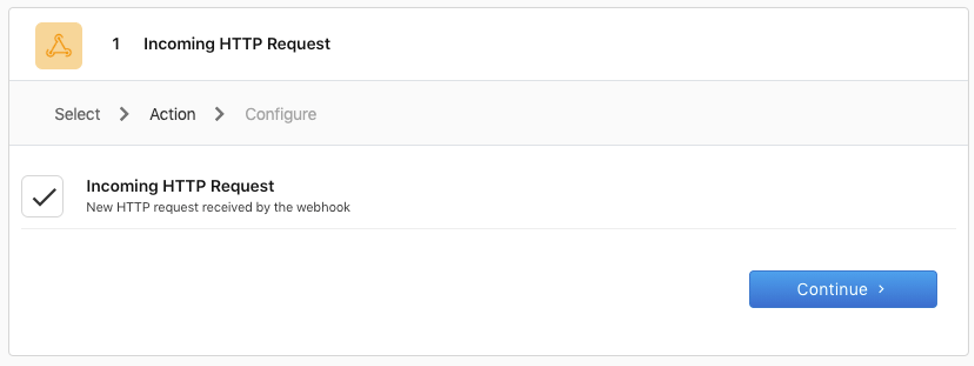
Start a new flow in Claris Connect and choose Webhooks as your trigger. It will default to “Incoming HTTP request,” which is exactly what we need.
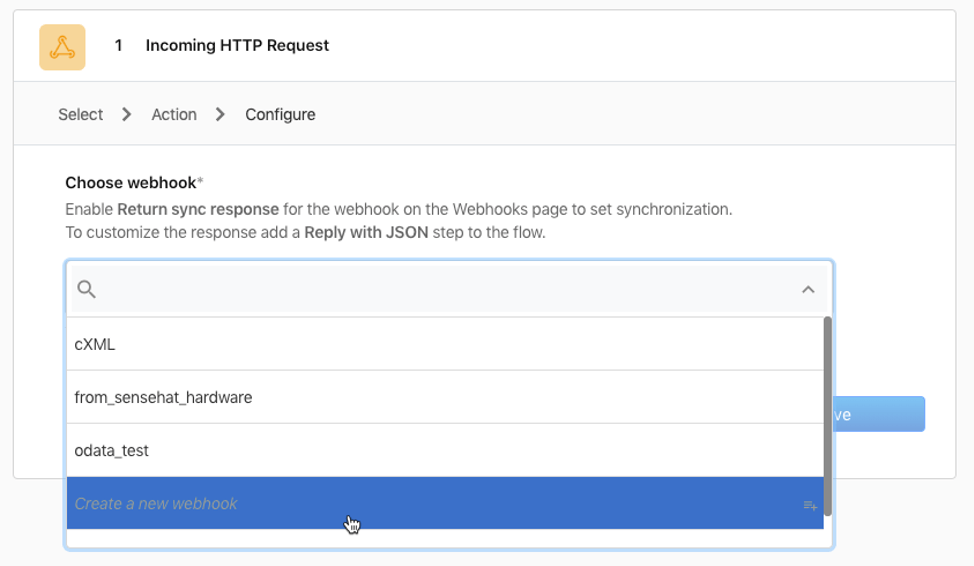
Next, if you have existing webhooks like I do, you will be able to pick from your existing ones, but for this purpose, create a new one.
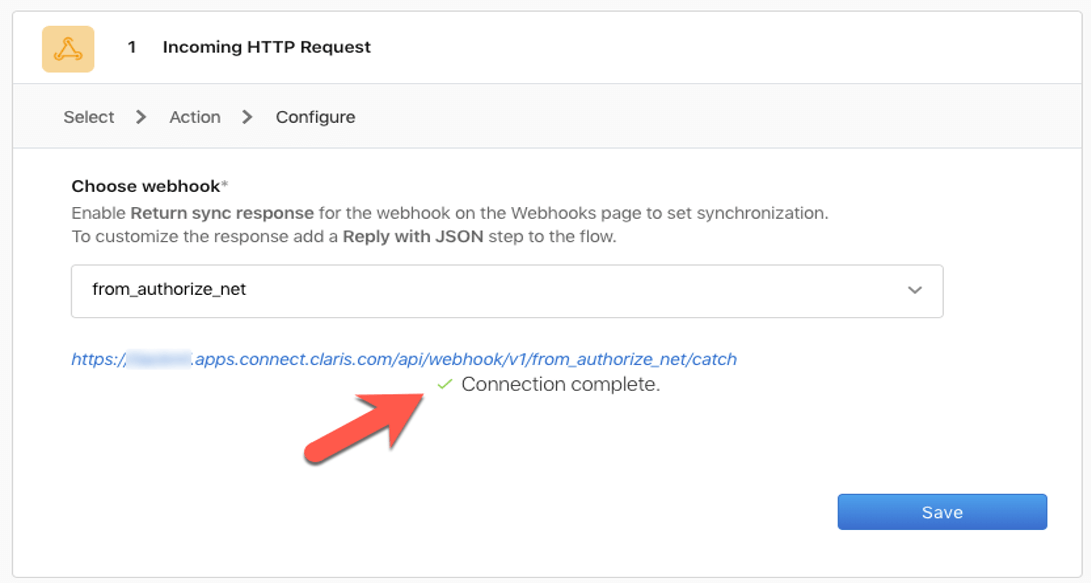
Once you give your webhook a meaningful name, Claris Connect will generate a unique URL for it, and that is the URL that you will enter in the Authorize.Net configuration:
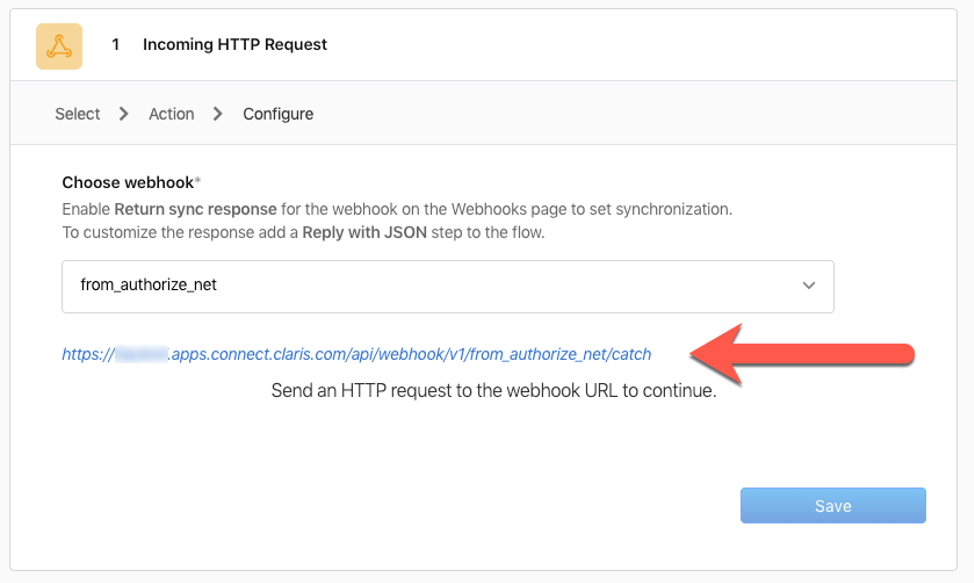
At this point, Claris Connect expects you to send something to that webhook URL so that it can learn what the structure of what it will receive and make it available to you for the next steps in your flow.
For this, I typically use Postman so that I can test without having to fire an actual event on the Authorize.Net side.
Use the URL from the Claris Connect Webhook and take the JSON example from Authorize.Net to put together the Postman test call.
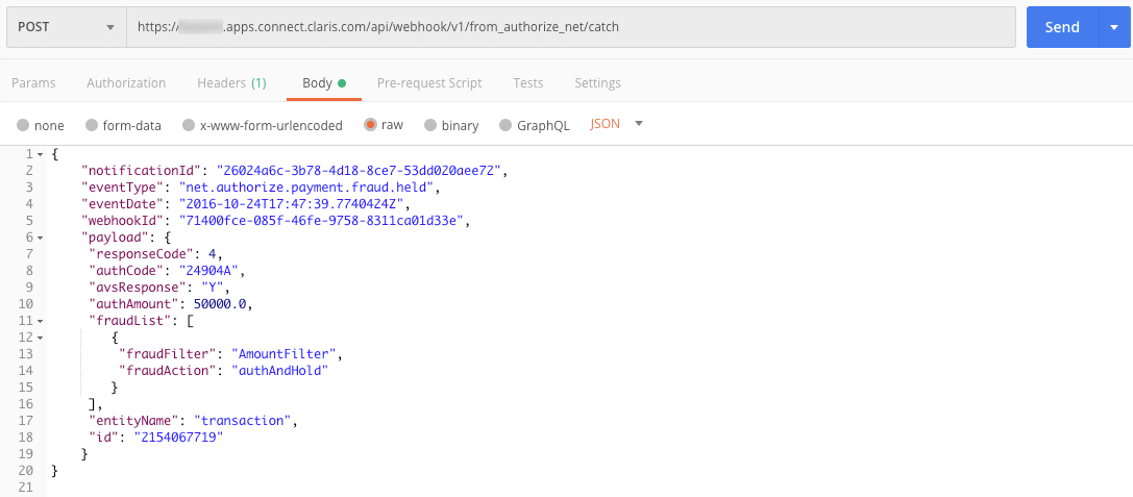
When you send the request, Claris Connect will confirm that it has received the payload, and you can proceed with the rest of the flow.
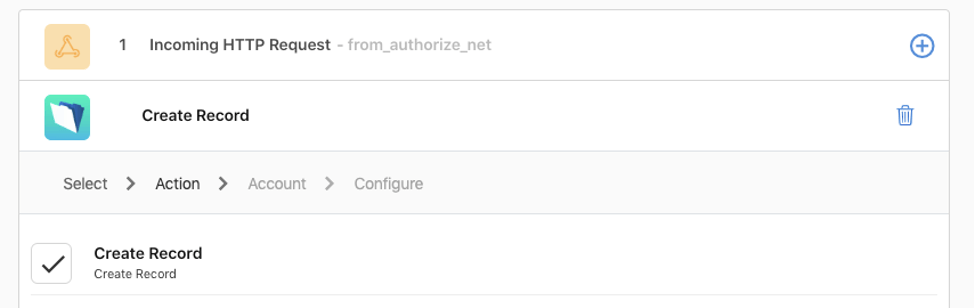
Select the relevant FileMaker connector for your setup and select the “Create Record” action:
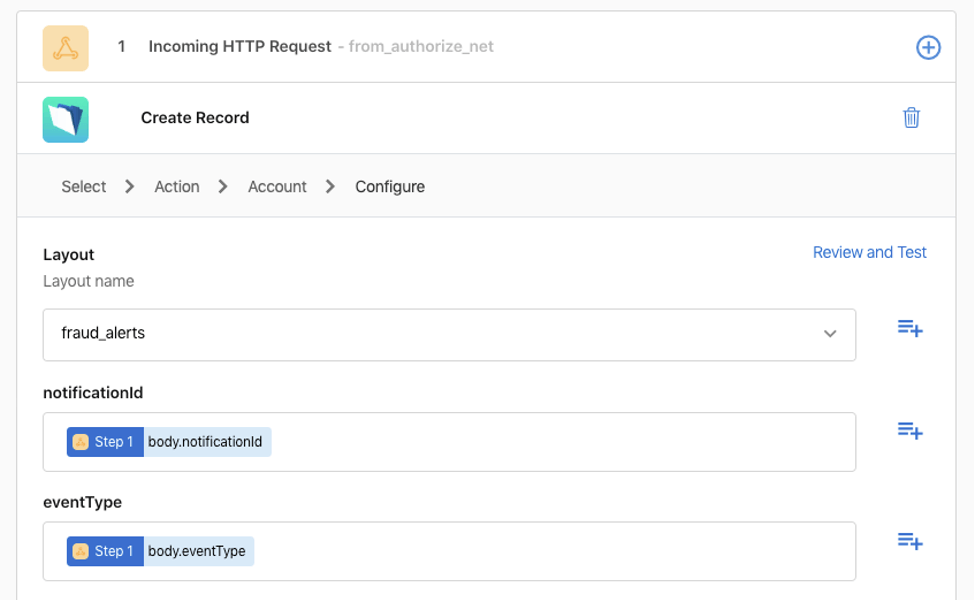
Create a new connection or use the relevant existing one that points to your FileMaker file where the data lives and select a layout that exposes the required fields. You can then select from the elements that the webhook received to fill in your FileMaker fields.
Once you have confirmed that everything works, you can take the webhook URL and set it up on Authorize.Net.
And that is it.
In a manner of minutes, you have built a fully functional web service that receives data from a cloud app that does not have a pre-built connector. That is the power of webhooks as they are implemented in Claris Connect.
Here’s another example of using a Claris Connect webhook (in French from 1-more-thing, using a WordPress site and the WooCommerce plugin).
There are few gotchas of course:
- You cannot send XML; only JSON can be sent to a Claris Connect webhook. If the other system can only send XML, then you will still need some middle-man web service that you build yourself.
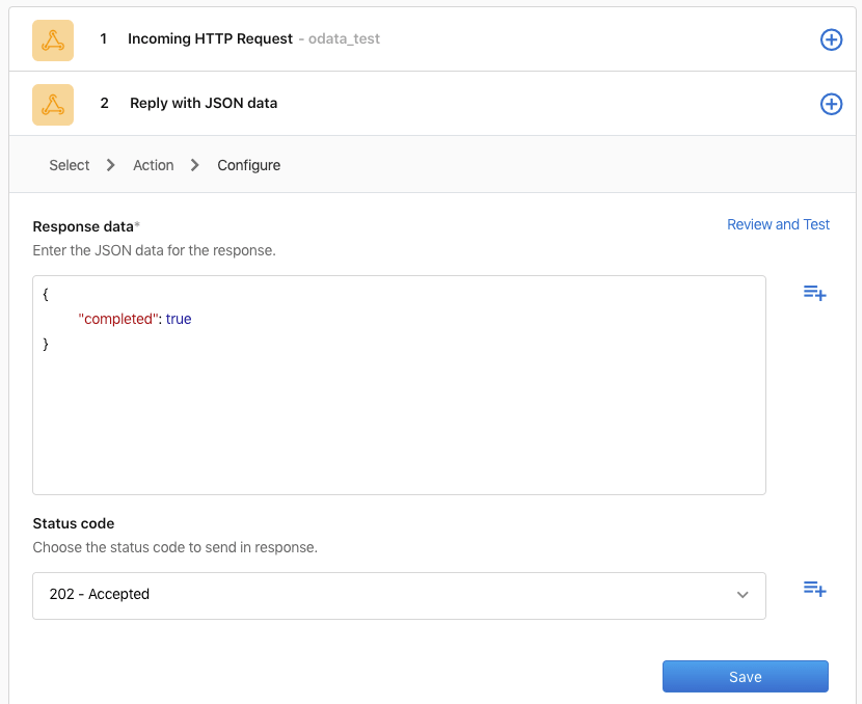
- Some APIs require you to send a particular HTTP response when you receive a webhook message: for instance, Microsoft’s Office 365 API expects an answer with “202 – accepted”. Claris Connect can handle that by using a Webhook as the next action in the flow and selecting the required status code.
The “$” character in JSON key names is not accepted by Claris Connect. That means that if the other system sends data like this:
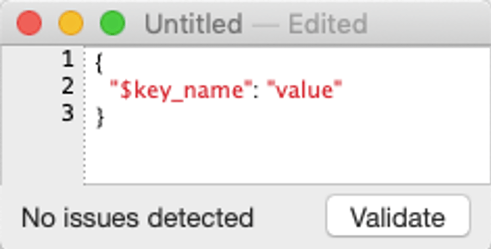
Claris Connect will throw an error and not run your flow. Other characters such as “@” are fine, which is important because the “@” character is used a lot in key names with OData-compatible systems.
The goal for this blog post was to illustrate the tremendous power that comes from being able to consume webhooks and the doors it opens to integrations with a wide variety of systems that support it.
As always, please reach out to us with any questions.