Every one of us FileMaker developers comes from a different background. Some of us are graphic designers, web developers, coders, teachers, or mathematicians, and we expect FileMaker to work like other software. For example, if your focus is graphic design, every year when the new version is released, you probably hope for more design tools.
Well, wait no more. FileMaker, Inc. released FileMaker 16 today along with a ton of new features. In this article, we will concentrate on the new Layout Objects Inspector.
Locating and Identifying Objects
If you work like I do, you try to keep your layout as close to minimalistic as possible. Then your client says, “Can you add one more field?” on a weekly basis. At some point, you will end up with a “colorful collection of crayons” all over the place (and you will have no kids to clean that up). At home, you can use bins and put labels on the side so you can identify the contents. And the crayons are color-coded themselves, so you can easily pick whichever one you need.
At home, you can use bins and put labels on the side so you can identify the contents. And the crayons are color-coded themselves, so you can easily pick whichever one you need. In FileMaker, we also try to follow the same method by putting objects in the appropriate buckets and using layout tools such as tabs, sliders, and popovers. This contains the madness and allows data to be shown to the user on a need-to-know basis.
We can also act on our objects. We can:
- Color objects
- Go to an object (via script step)
- Apply conditional formatting
- Hide objects
- Use the Get (Layout Object Attribute) function to learn about our objects (this is a very useful function)
- Set Layout Object Animation
- Use the LayoutObjectNames function to get all the named objects on the
- Use triggers on them
No matter what tools FileMaker, Inc. gives us, we always want more. And with the yearly release cycle, we have a chance to get new tools every year.
New Tool in FileMaker 16: Layout Objects Inspector
One thing I always wished for is the ability to identify which object is behind something or hidden tab panels. Hidden tab panels used to be my favorite feature until you could actually hide elements. You had to note via yellow “stickies” on the layout if you had hidden objects, usually in the non-visible area.
Now you can easily find them.
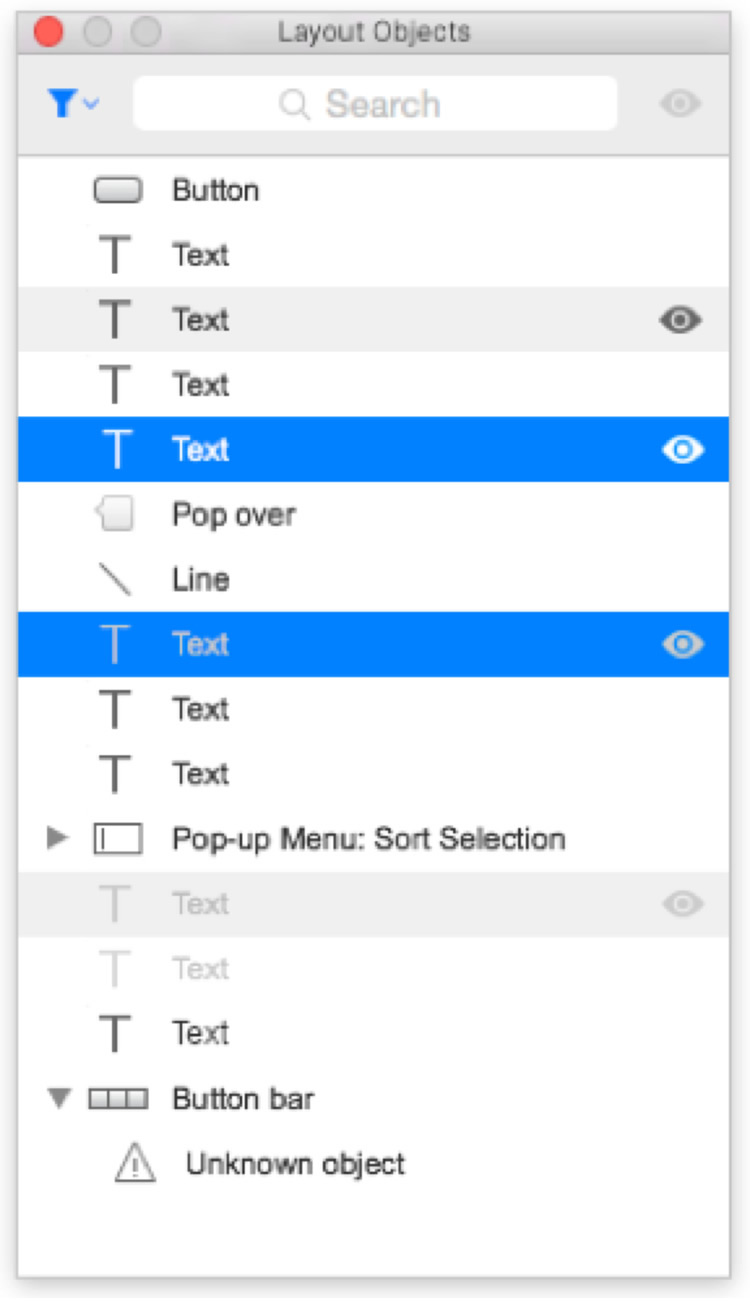
We have a new panel called, Layout Objects Inspector as shown in Figure 1.
You can pop it open/hide it by hitting CMD + Option + T. It will also hide with Escape (just like the Inspector palette).
From the Layout Objects Inspector, you can do the following:
- name objects (it uses regular object naming)
- select multiple objects at once
- view objects by type
- group multiple selected objects, name the group (call it a layer if you wish); drag to rearrange them as layers
- hide them / expose them (it grays them out if hidden)
- hide all non-selected objects
- show all hidden objects
- find an object
- modify object while being grouped
- see if an item is from a related table (::)
- add conditional formatting
- add triggers
Notes:
- Adding an item to the group creates a parent group with all objects in it.
- Un-grouping a group will make the group name disappear.
- Just because you can name every object doesn’t mean you should. Generally, in FileMaker we name objects we want to navigate to manually or in a script.
- You can view but not move an object when exposed by clicking on it in the Layout Objects Inspector. You have to click on the actual item to be able to move it.
Below is another example of the Layout Objects Inspector – one compact (Figure 2) and one expanded (Figure 3) view.
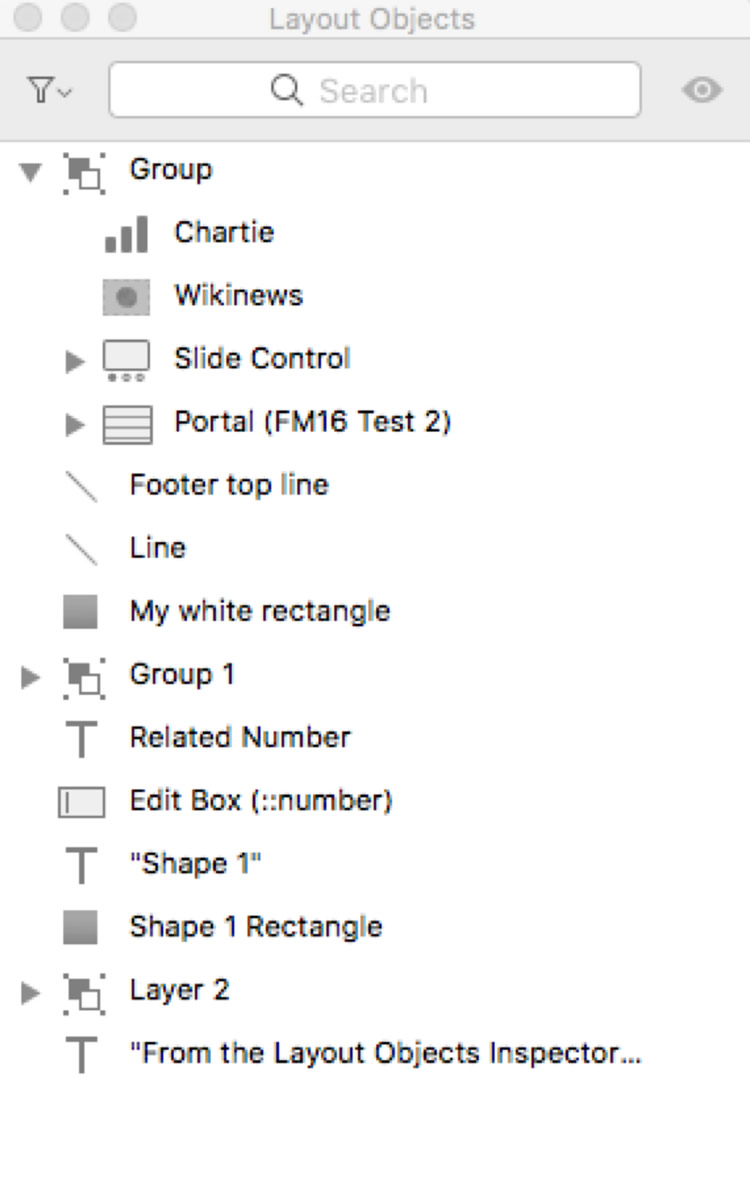
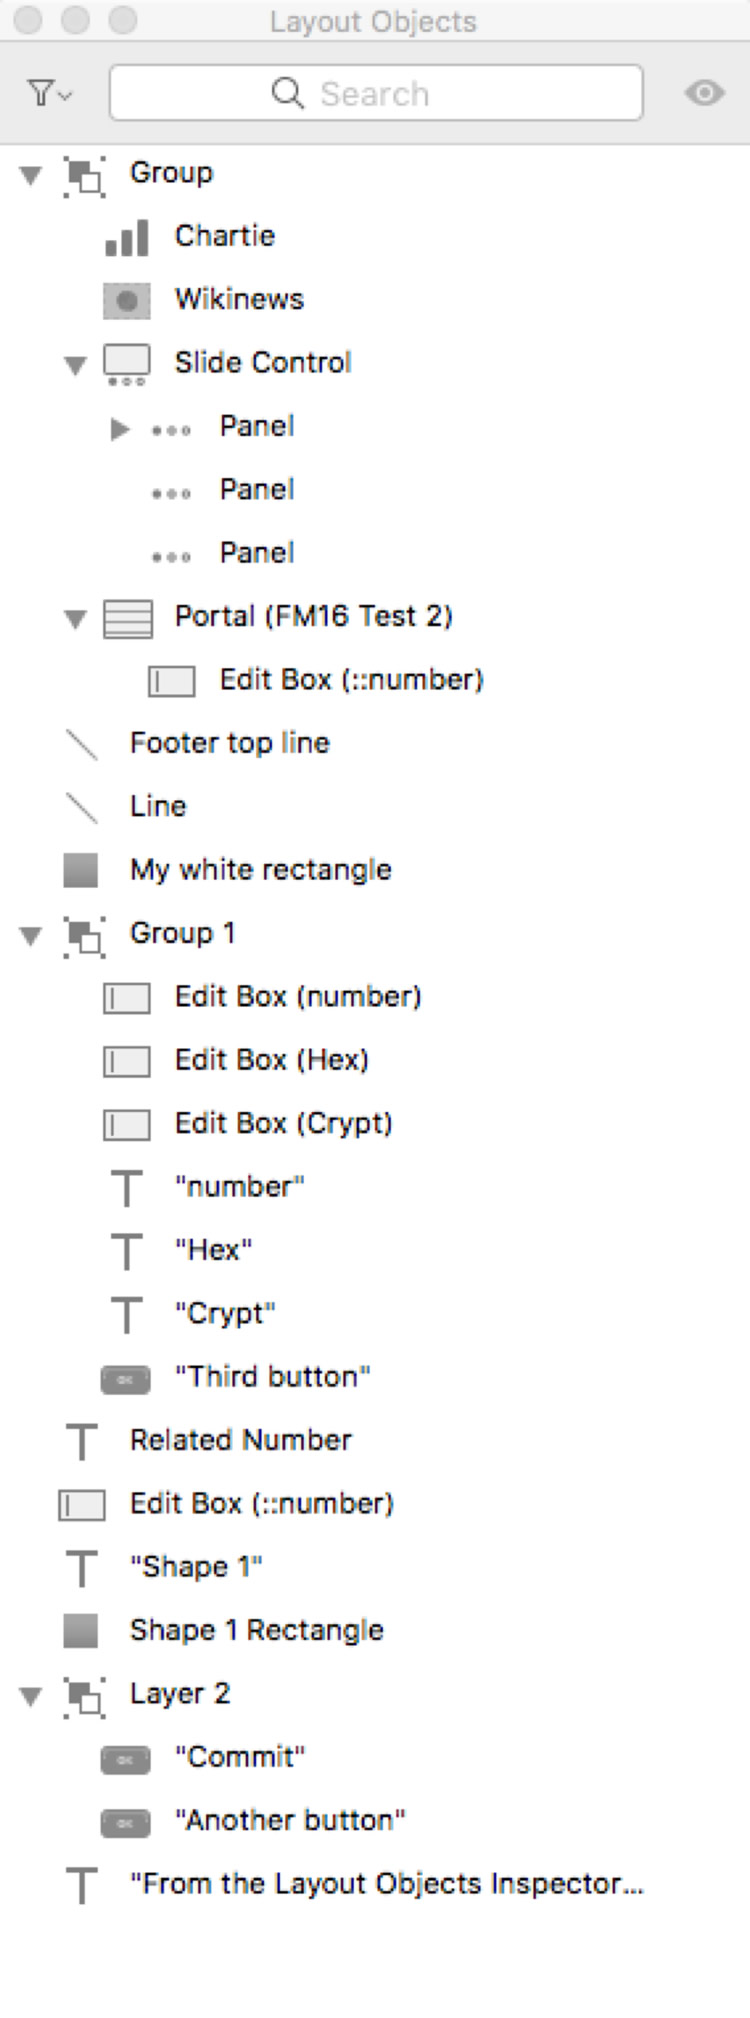
In Figures 2 and 3, you can see groups. One of them I called layer (just because I can), which can be confusing if you ungroup it. As you can see, the Slide Control automatically created a group for itself, and each slide is an object in that group. I love this feature because, now I don’t have to expose the dots to go to the next slide panel.
The portal contains an edit box, and you can navigate to it from the Layout Object Inspector, as well.
I hope this new tool will save you time and help you get more organized in your FileMaker development. If you have any questions, feel free to write a comment or send us a note.
Happy FileMaker Developing!
But this tools make us not able, to change multiple object that have the same conditional Formatting. need to go in one by one to change the conditional formatting
Hi Chong,
You can select multiple objects and apply conditional formatting to them from the layout, as well as the Layout Objects Inspector. Highlight the object with the same conditional formatting, then right click and you will see the option to change conditional formatting.